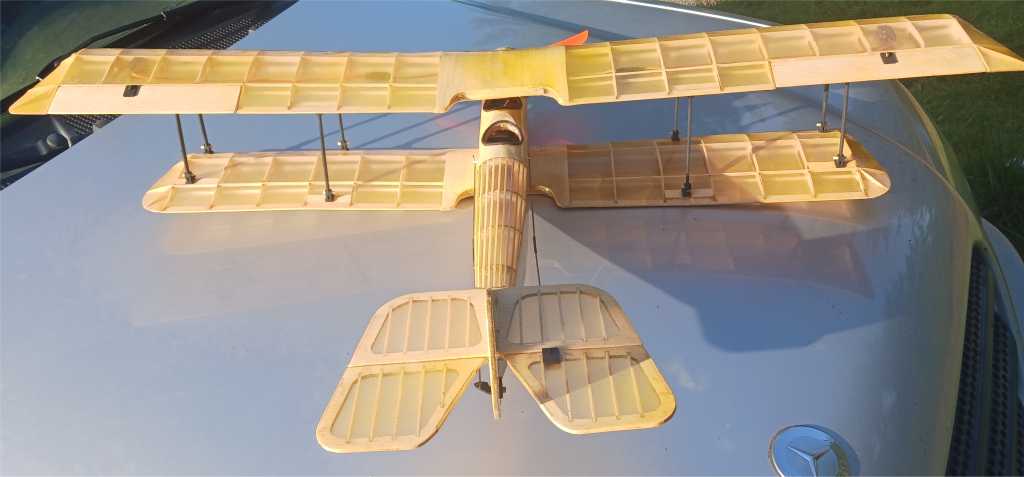
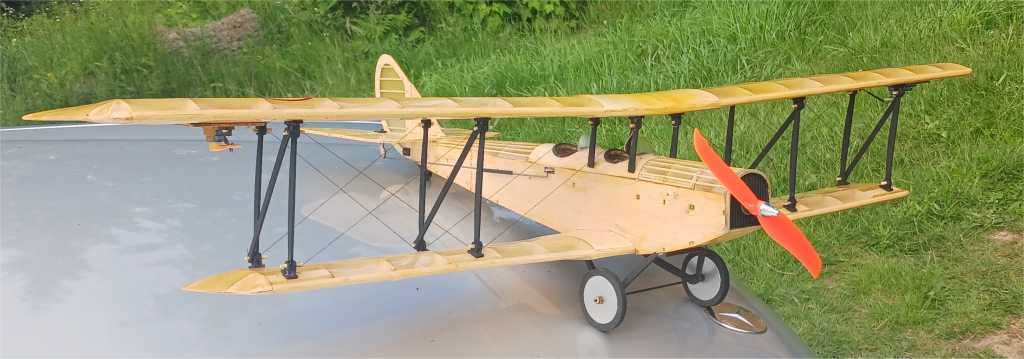
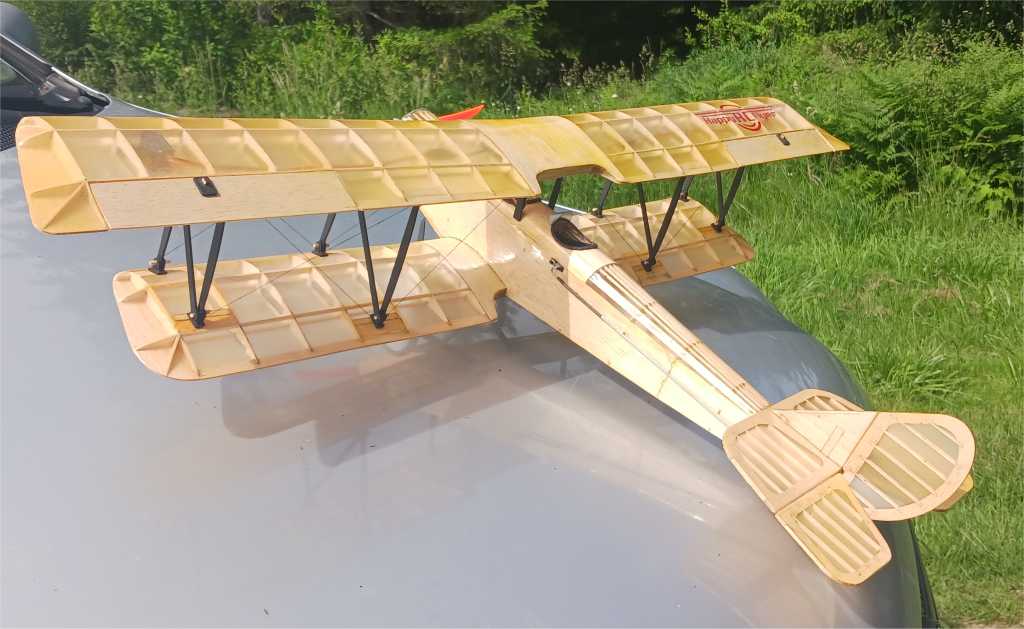
This is an amazing version of the classic, Curtiss Jenny. This version is unique along it’s size in the RC aircraft kit market at 38″ wingspan, coming in at around 1.5 pounds. It’s close to scale of the full sized plane with some revisions to make it sportier and more simple to assemble.


The kit is officially ready for purchase, at only $120.00 with free shipping to the lower 48. Non USA orders will be an additional charge and handling and shipping time.
The build guide is located here: https://happyrcflyer.com/jenny-kit-build-guide/

For first time and new builders, it’s highly recommended to learn the basics prior to assembling the Jenny and done in this order.
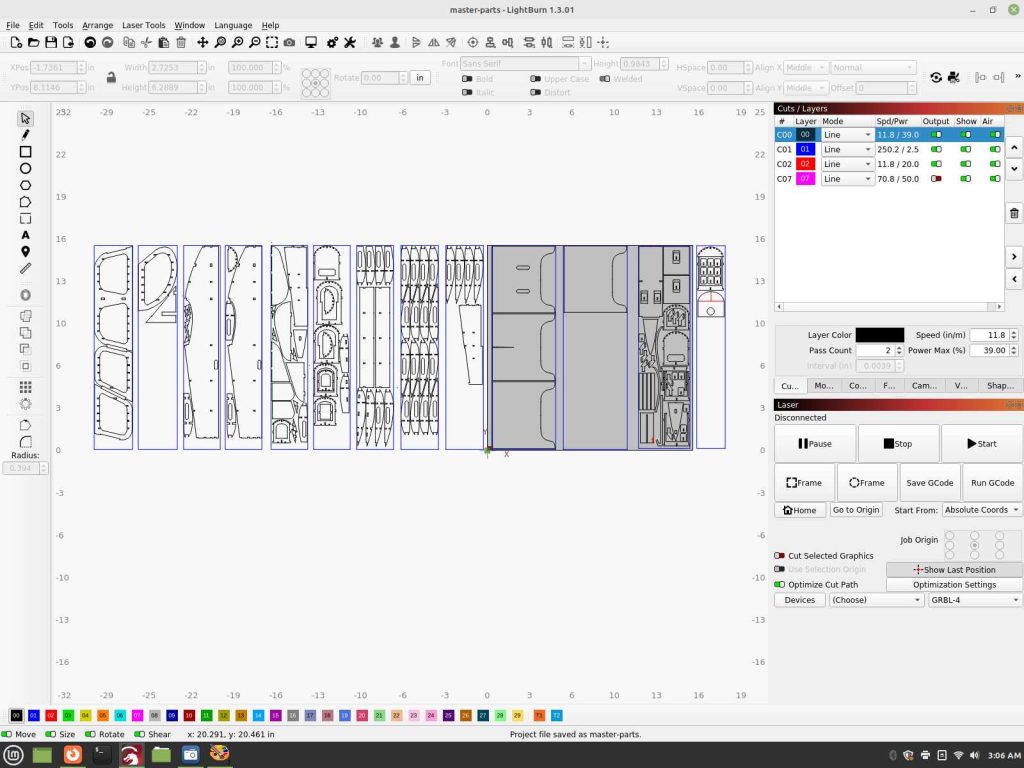
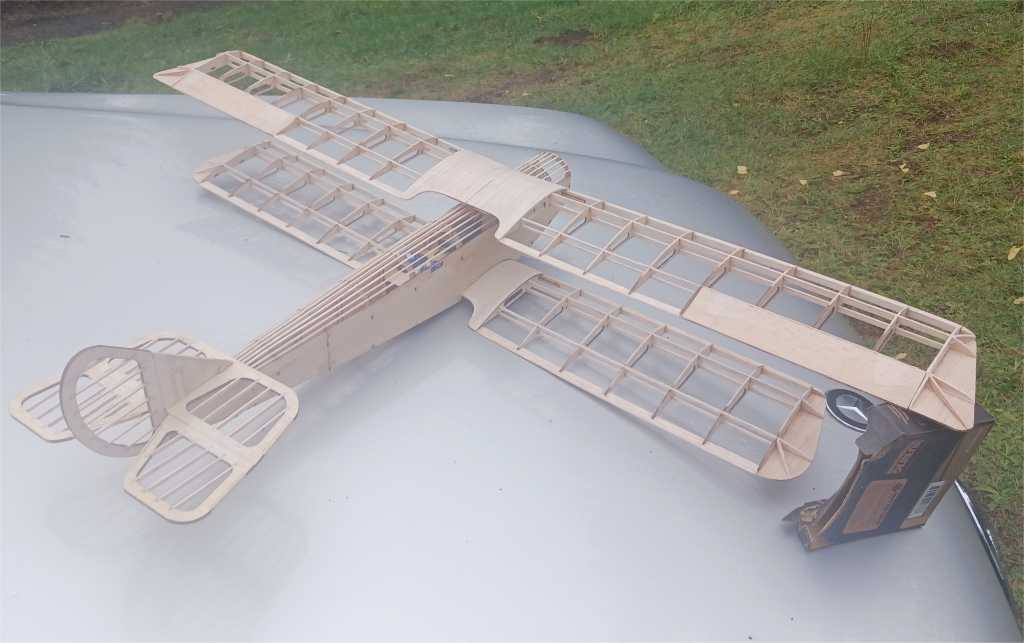
Sharing some of the design and build photo’s to show more along what went into this kit along with assembly and past development photo’s.

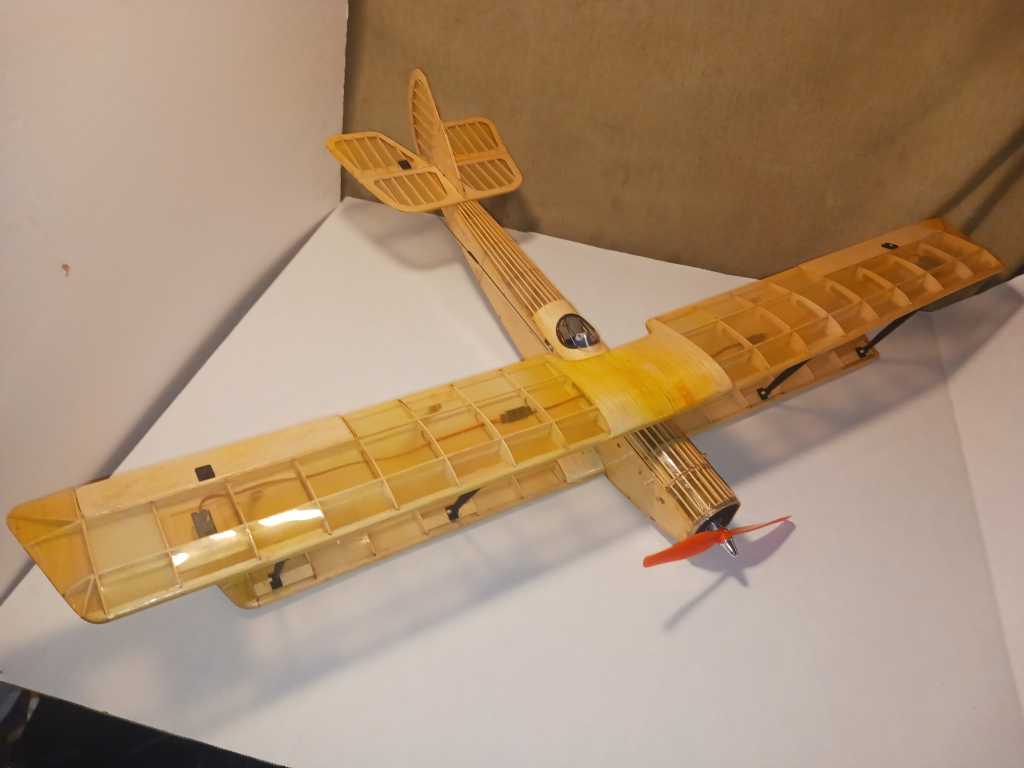
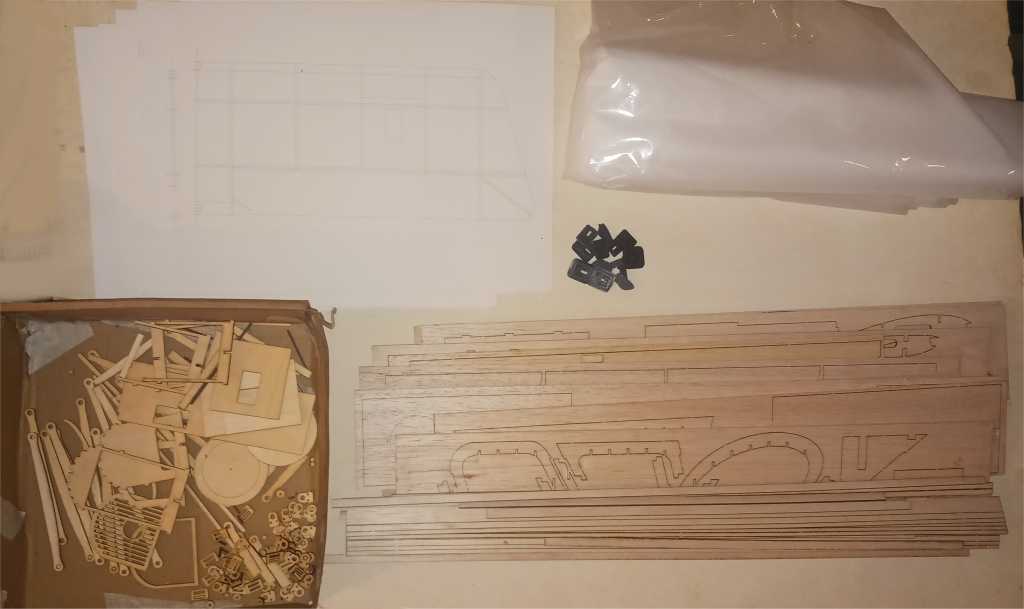
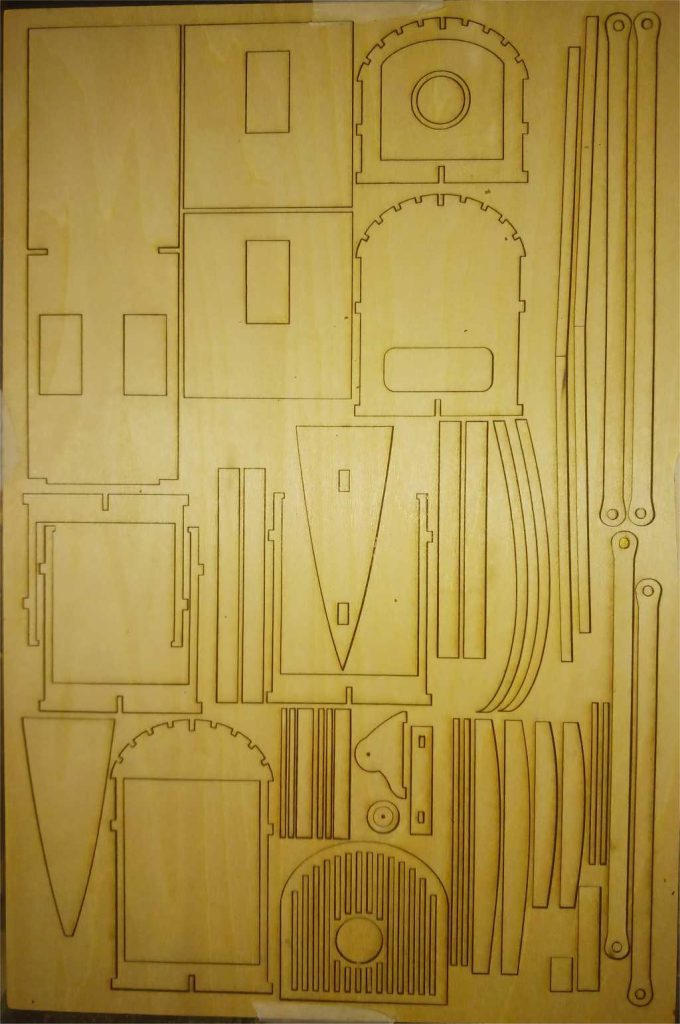
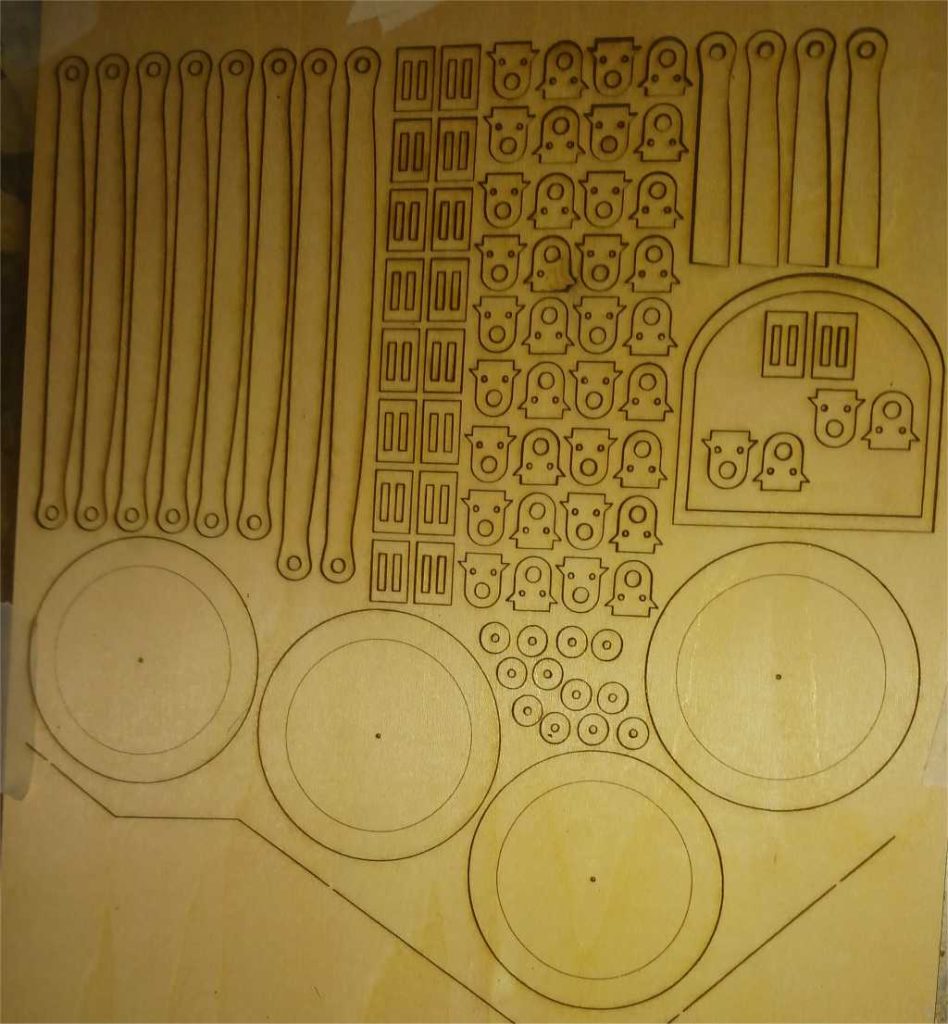
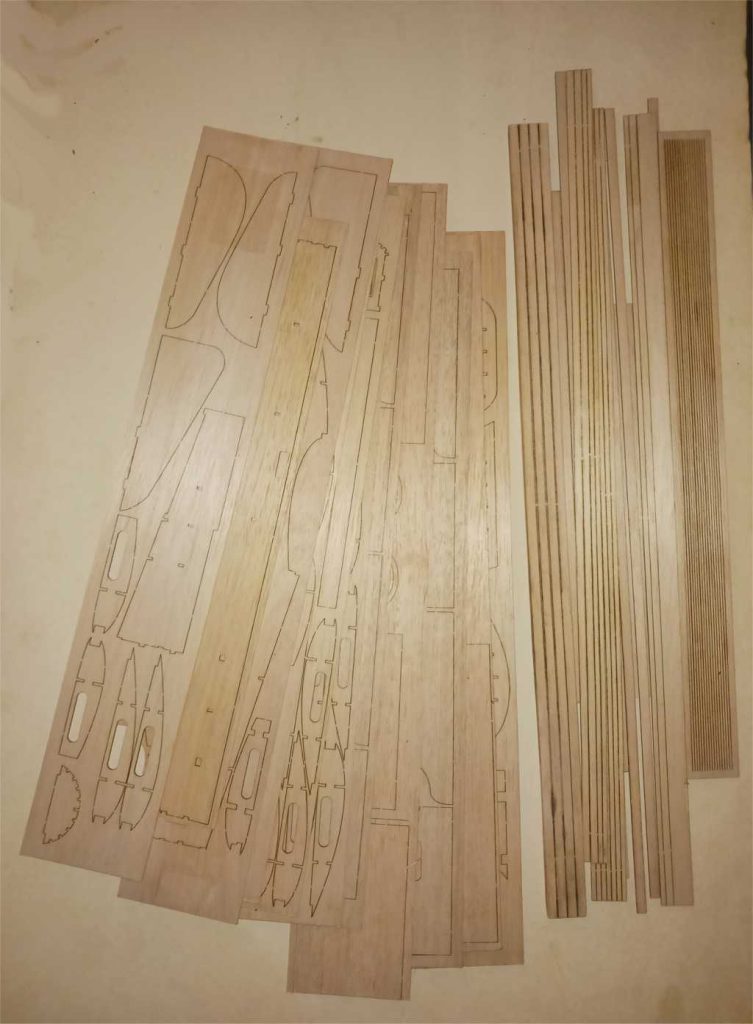
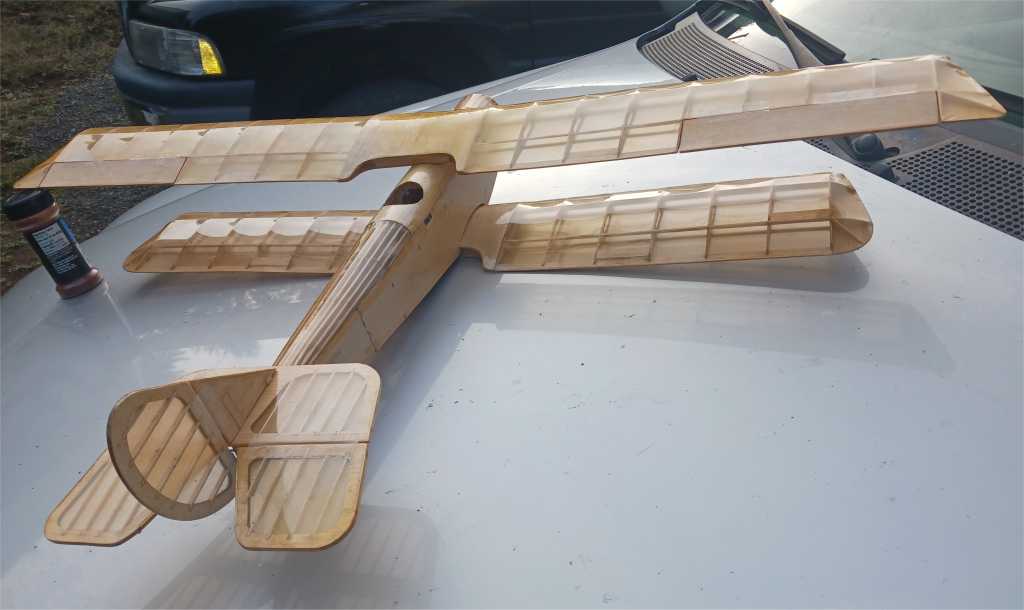
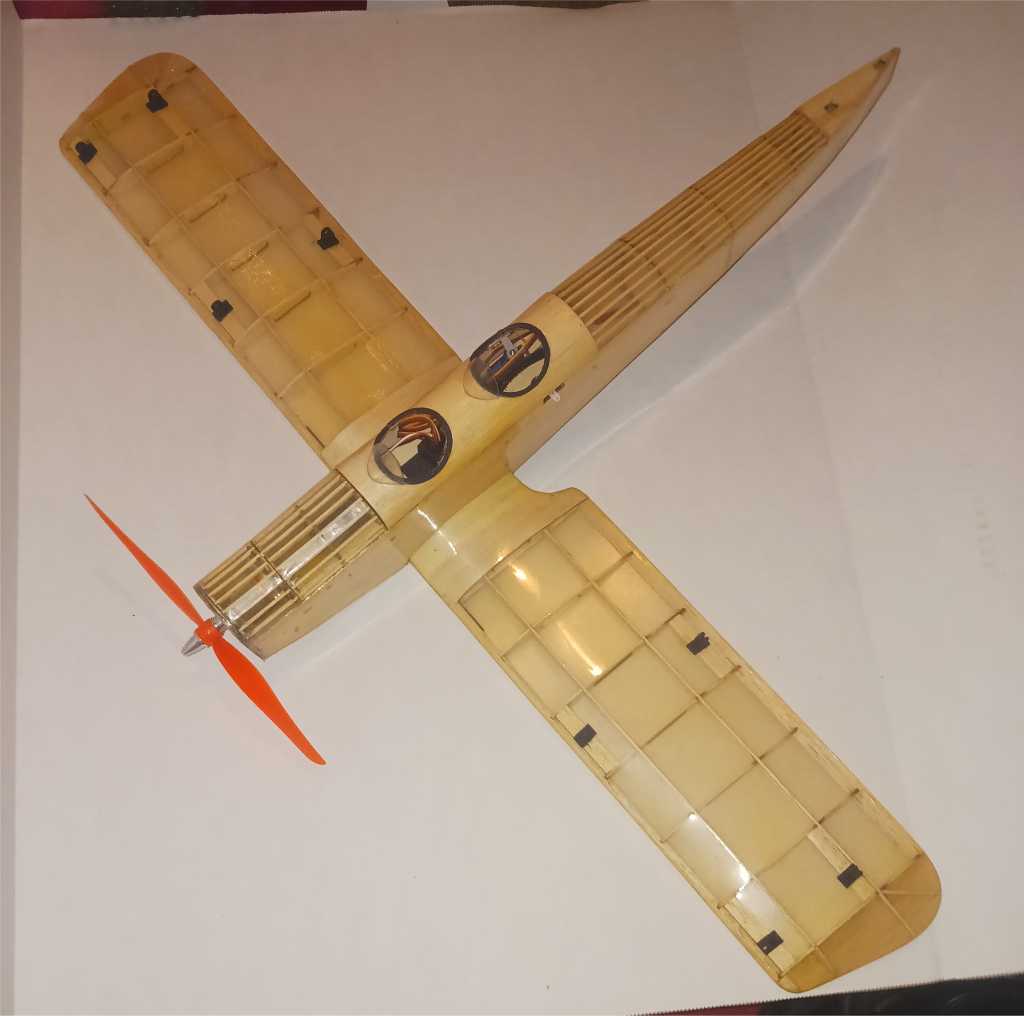
The airfoil is a thick Clark Y, with sheeting on the sides of the fuselage. General parts break down shown:
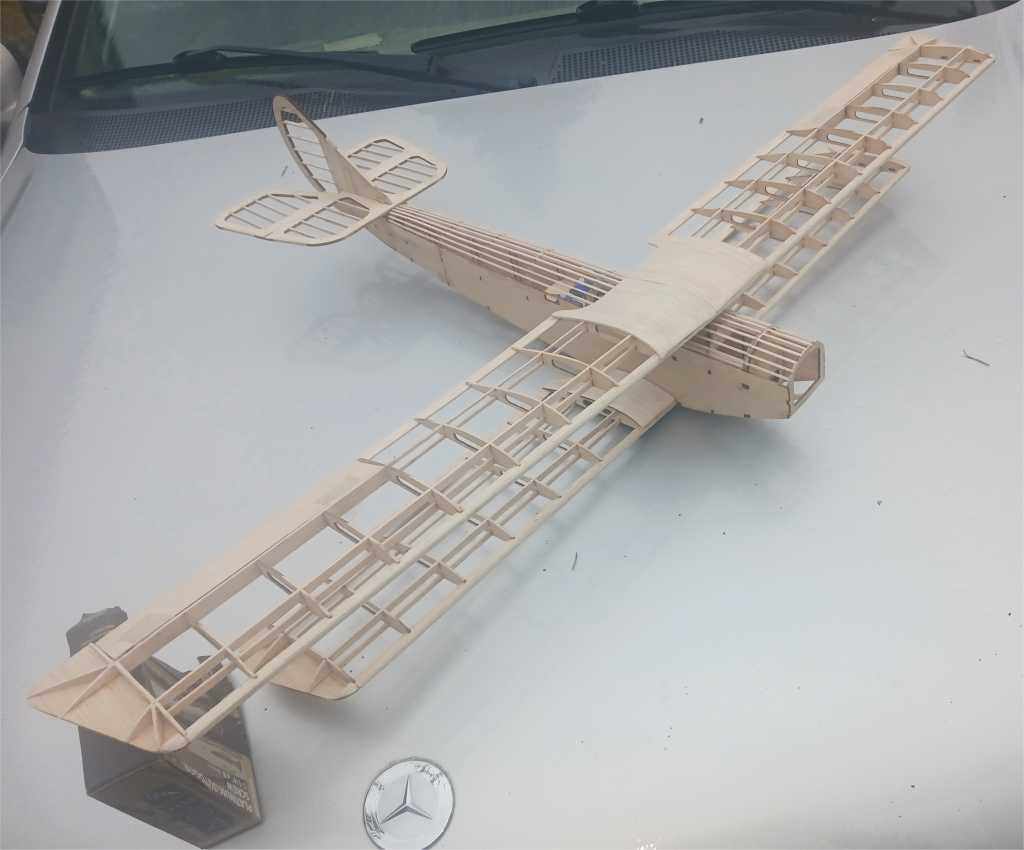
Sharing the build progress so far on the first one with the parts taped and simply resting generally in place. Additional parts are being custom designed to complete it in tangent.
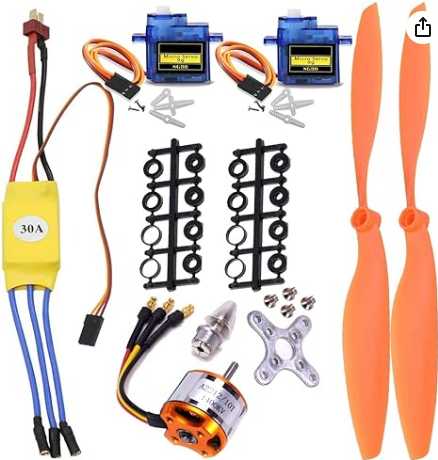
I’m sharing the electronics which can be found on Amazon for easy reference. This particular plane has more stringent dimensional requirements for the battery and motor physical size so make sure what ever you use is matching it in that area. The thrust to weight ratio with this configuration is close to or better then 2:1, vastly more then enough power then needed for simple scale flying.
A2212 1400KV RC Brushless Motor
30A ESC
SG90 Micro Servo 8060 Propeller
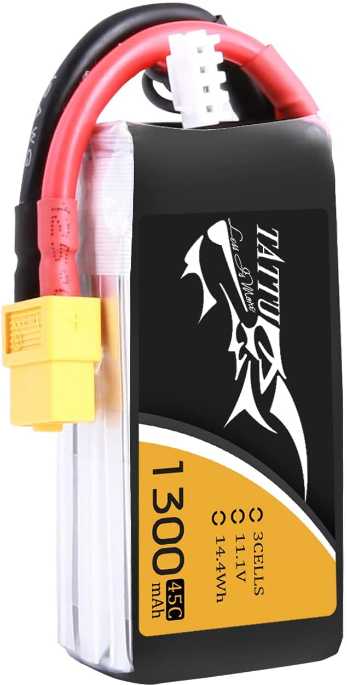
The battery is a 1300mAh 45C 3S 11.1V.
Showing more along the earlier development build info as I did it back in the day:
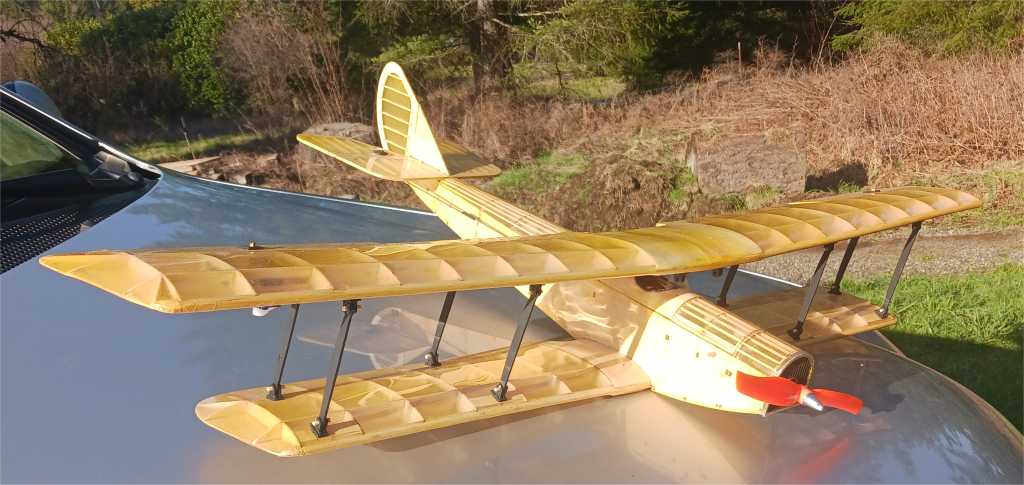
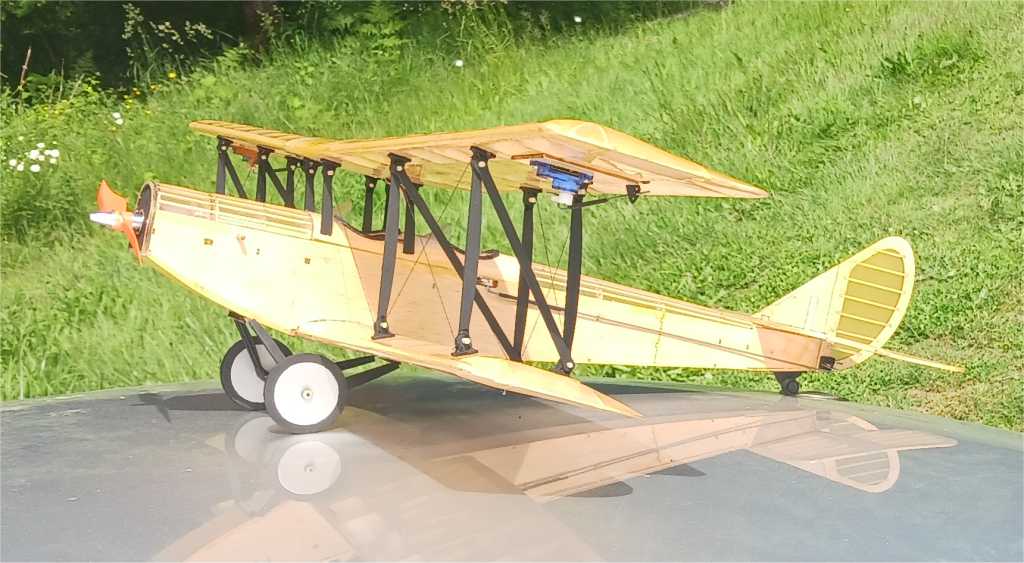
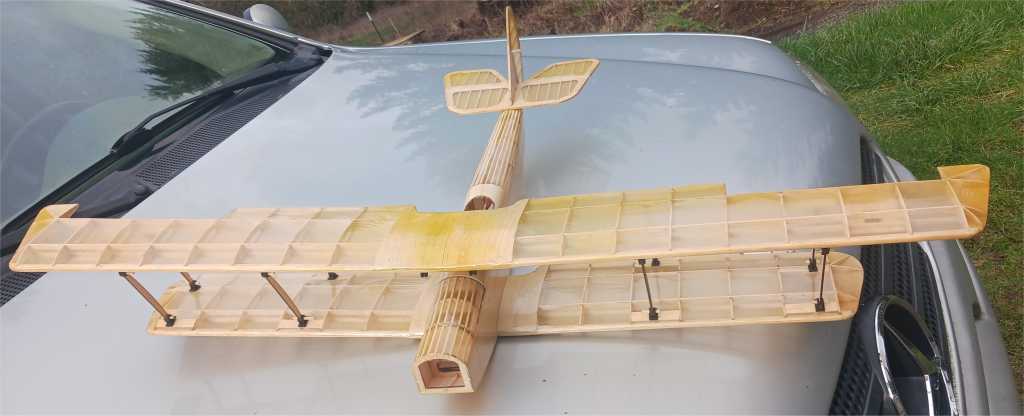
The covering stage has began. I am using some lightly misted in orange Doculam.
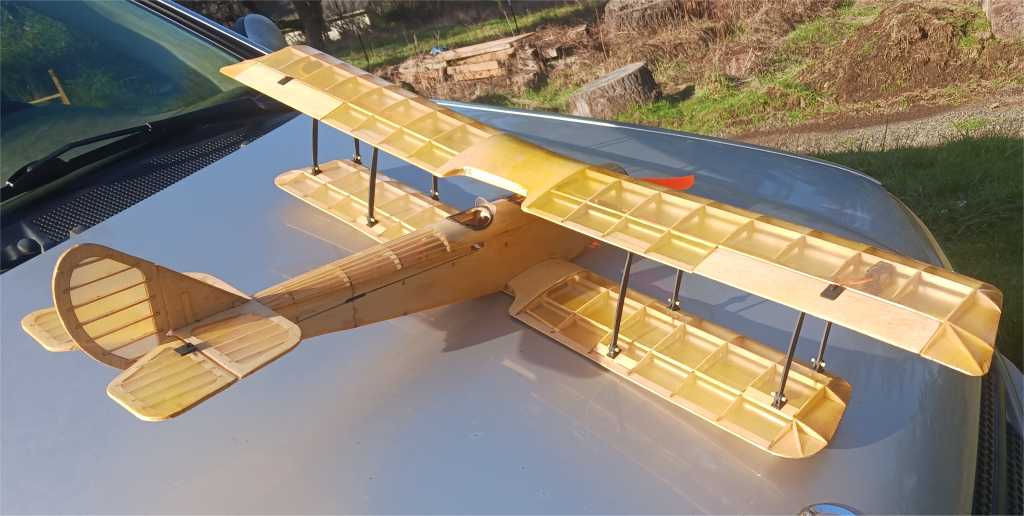
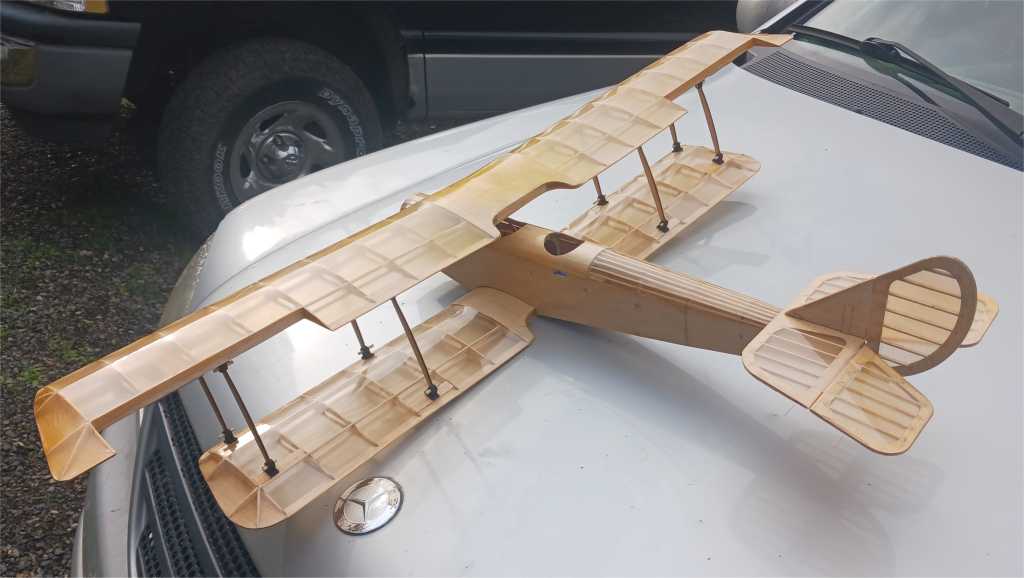
I designed up some strut mounts and main struts to be pretty simple to install and adjust. There are extra holes at the base of the strut mounts to allow for piano wire to feed through instead of having to rely upon rigging to keep everything true.
Adding some extra details to the fuselage. The rim of the cockpits are made from painted 1/16″ stock keeping it simple.
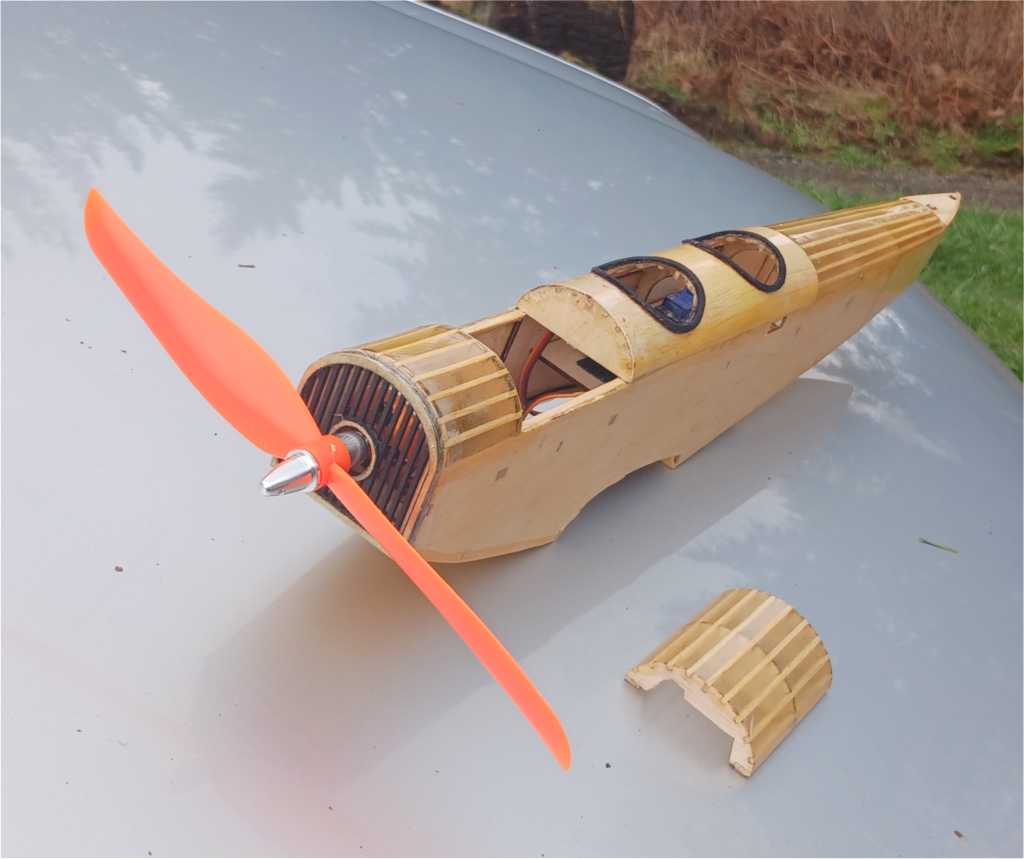
I added the windshields made from .030 Midwest brand clear sheeting, something pretty easy to handle to get the curves right without needing anything special to do outside of a heat gun and bending it into place by hand after cutting out from the pattern I created, which one can use any clear plastic from packaging they get, up-cyling rather then needing to supply but the dedicated stock was used on this, is nice if you want to go to the expense upon.
Keeping things neat on installing the gear for the upper wing. The center sheeting is a great place to stuff in the y cable and extra lengths of other leads. This leaving only one line to be routed a bit more tactfully.

Getting the base assembly taken care of, moving on to the rest of the details. So far, only 450 grams, total flying weight to include the battery as well.