This is covering the Sparrow with tinted high temp 1.5 mil “not mm” Doculam. The techniques can be used for most plastic coverings on the market to include Ultracoat and Monocoat along with applied to a wide range of different planes and styles. Review this guide in full before proceeding forward along covering your plane.
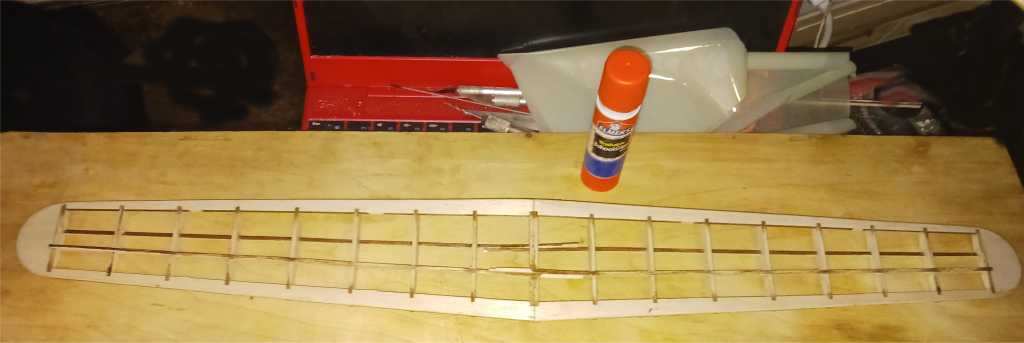
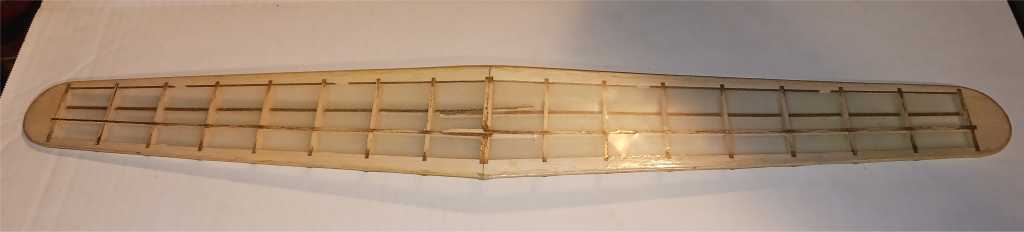
The Wing
Starting with the wing, I am using glue stick to help, an optional element since the covering has it’s own heat activated adhesive side which will be duller then the top side of the covering. I am starting with applying glue stick to the outer edges and about 1/8″ along the flat surfaces on both sides touching/next to the edges. Allow it to dry, it will turn from blue to clear.
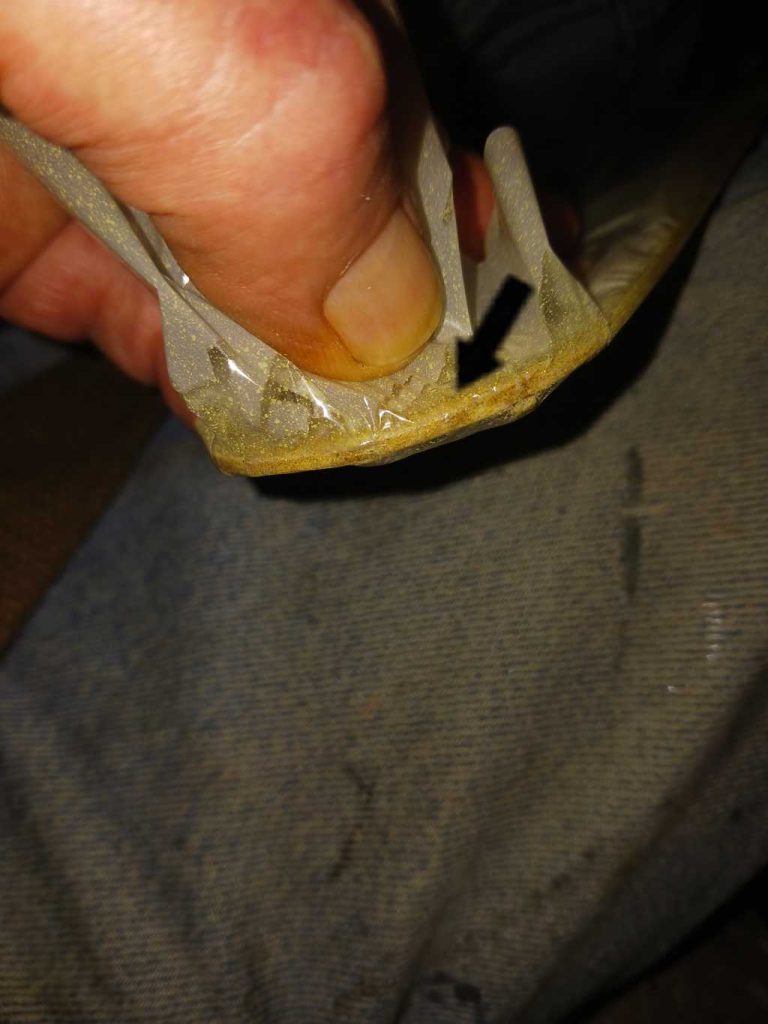
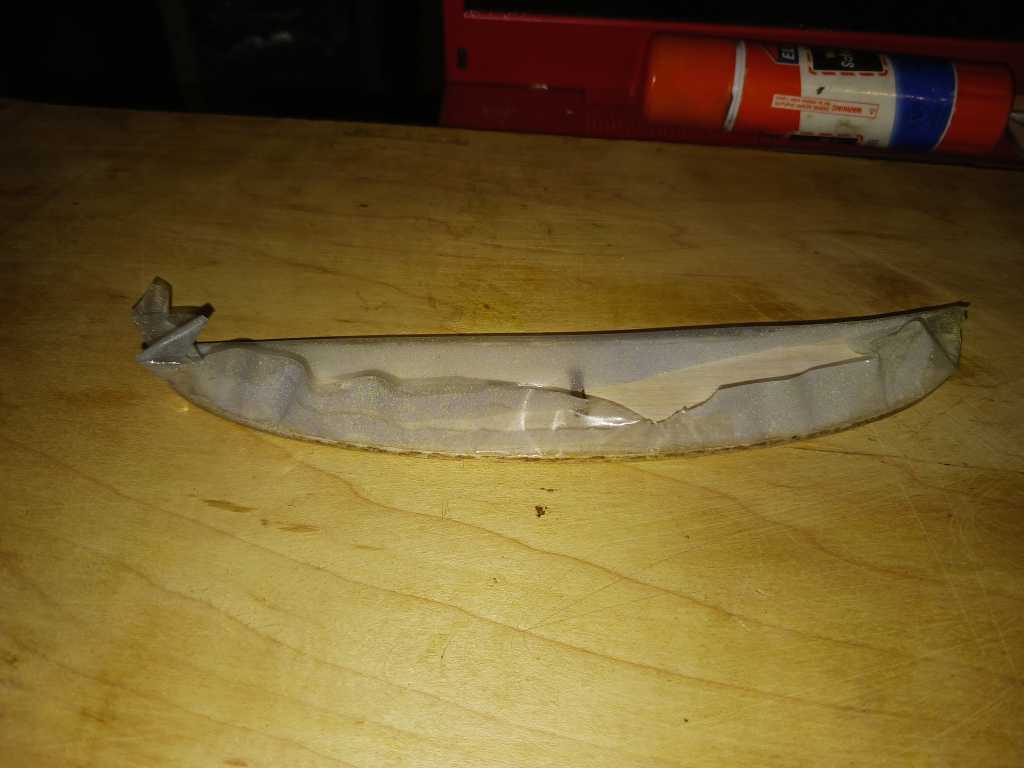
Starting with the bottom of the wing, cut out enough covering to give you a decent amount of overhang. Tack it on both tips of the wing, gently pulling from one side tight as you tack it down. It will be about 1/4″ of a bead/section tacked down on the flat part of the tip, and on the outer edge as well. Make sure the section you tacked down cools completely before pulling the covering tight to tack down the next one.

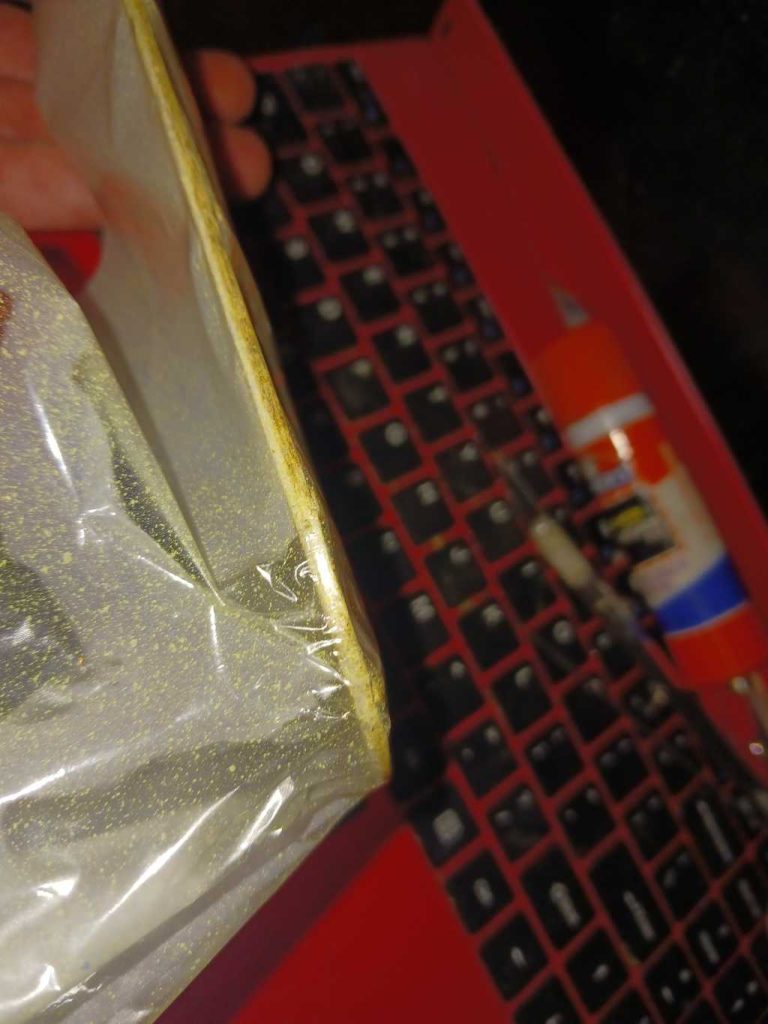
You are only needing it tight enough so there is tension just between the two spots you tacked down, don’t overdo it. The covering can be lifted off and re-positioned as necessary. The heat necessary will vary between coverings, consult your documentation with the heating iron you are using along settings. It’s best to use a hobby grade heating iron too, home clothing iron versions will work in a pinch but they are cumbersome, making it harder to work with. In this case, with this Doculam being high temp, mine is set to max heat using a common Hanger 9 iron for tacking it down which would be far too much for Ultracoat.
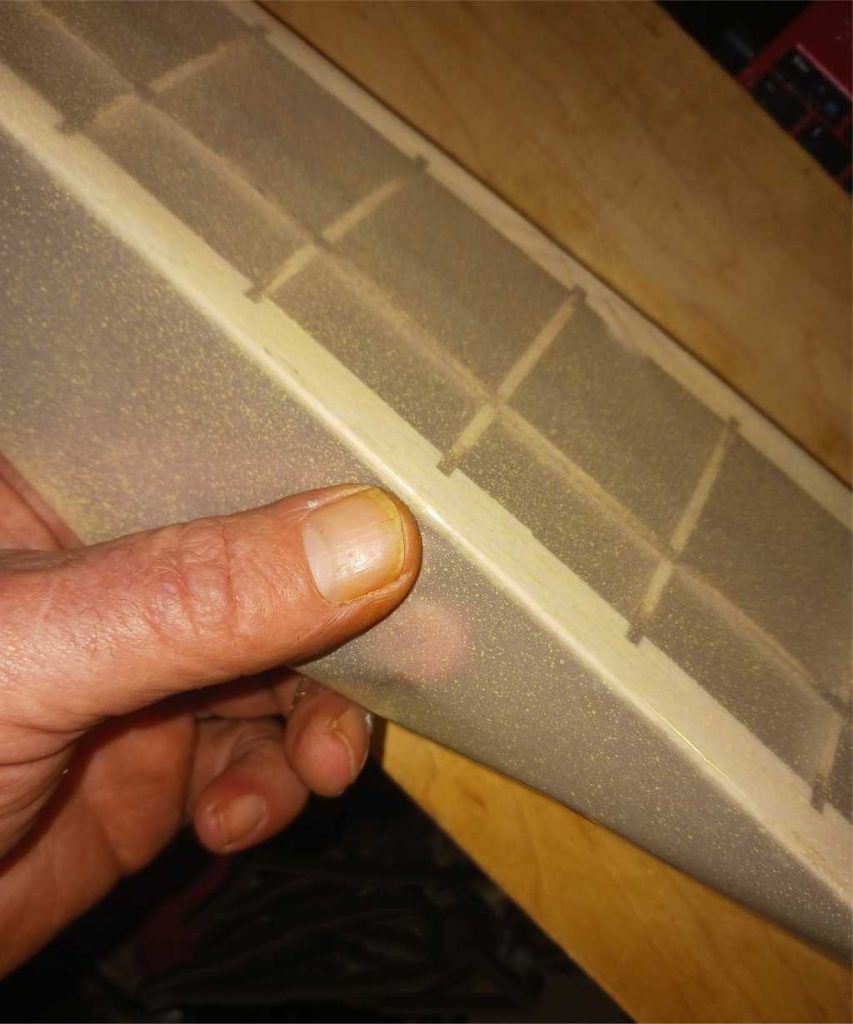
Next, tack down the middle section, again creating tension to pull the covering tight between both points.

You will then tack down the middle of the sections in between. Since the tips are rounded, you have to imagine the tips being square and tack onto the areas, where the tip of the rounded section would end in that spot and tack down onto the rounded section accordingly.

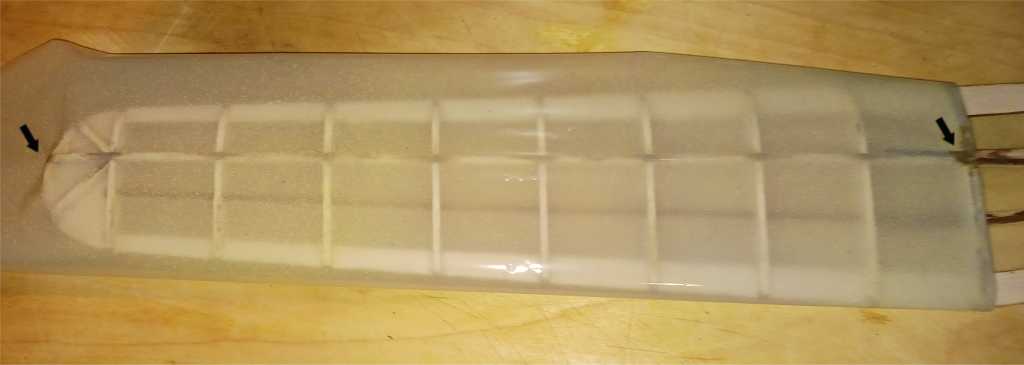
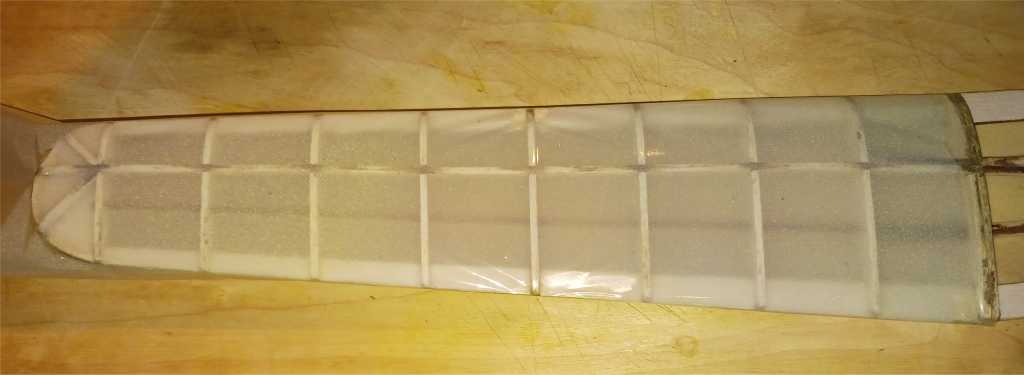
You will move onto to the sections between those next, until the entire wing is tacked down. Try to keep what wrinkles that form to a minimum, remembering the repositioning tip along with as needed. This gives the shrinking process shown later it’s best chance for a better finish pulling out what is left.
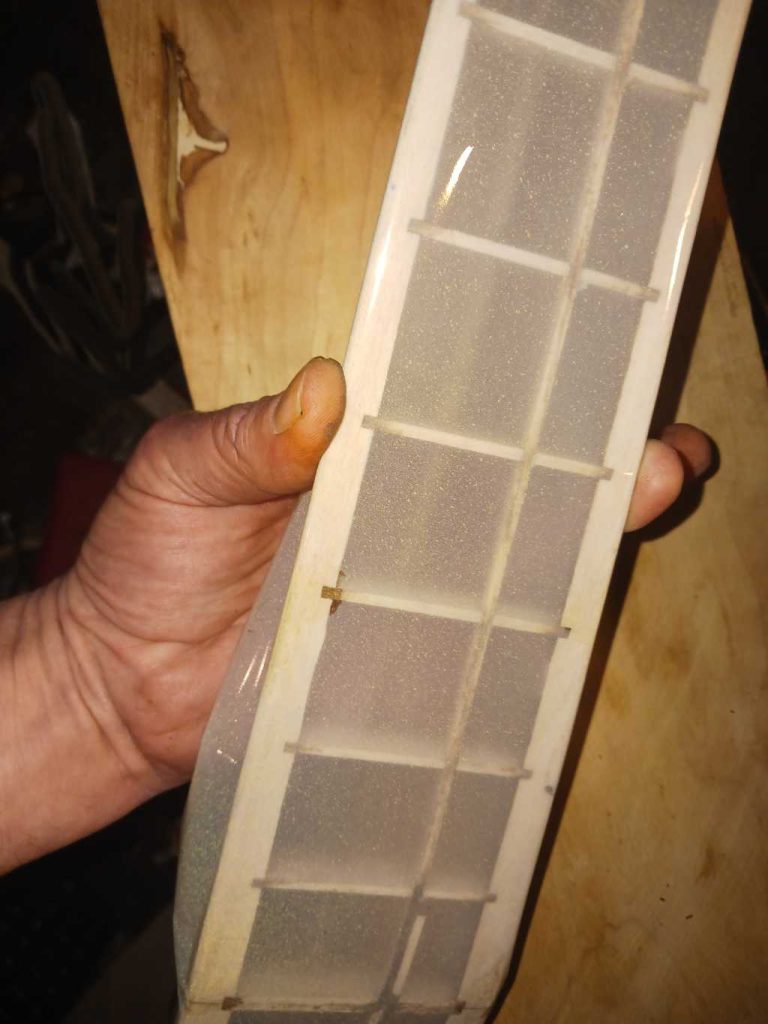

Wrapping it around the edges and curves requires pulling the stock tight while applying heat which will warp the covering to conform and stretch around, adhering to the stock. Showing it done when the top covering is applied, same process as the bottom one.


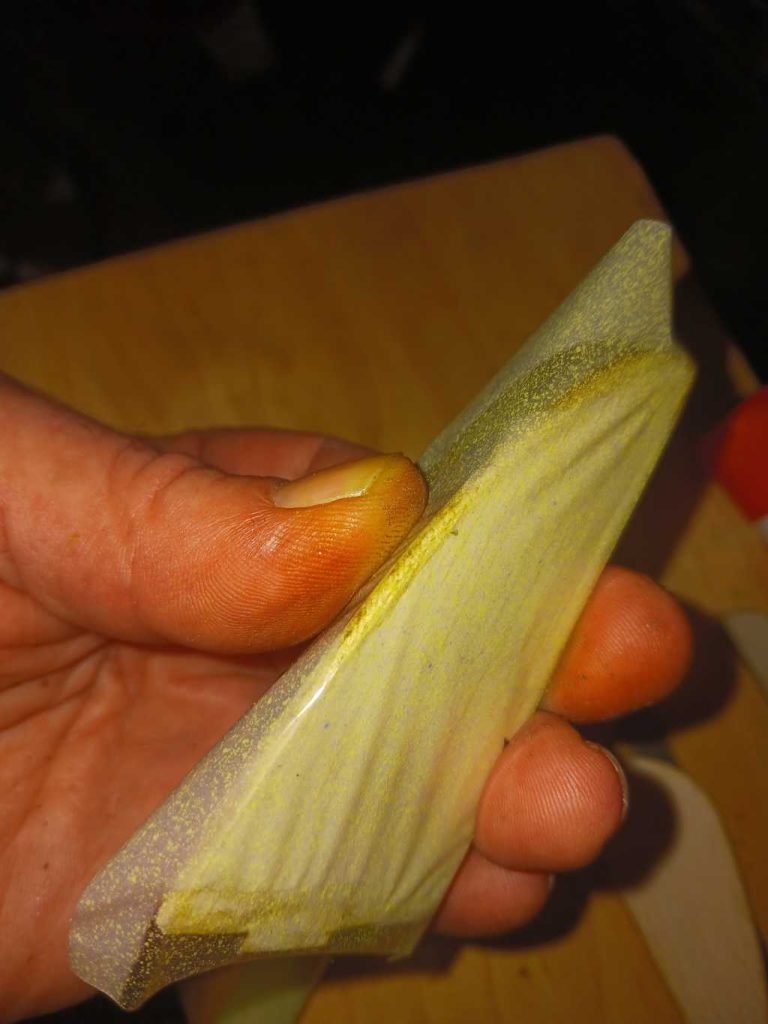
From here is trimming it down, make sure the length of stock is overlapped 1/8″ past the spot where it’s tacked down onto the wing. Use a combination of quality scissors and a razor blade/exacto type blade along with. First time covering will not have picture perfect cuts, do not worry about it as so much as needing that overhang, this is a critical step. I do push it though for more picture perfect results, through experience I know how far I can go with things, people new to covering will want to stick with that rule for now.

Make sure to adhere the covering, wrapped around to the top surface as well.

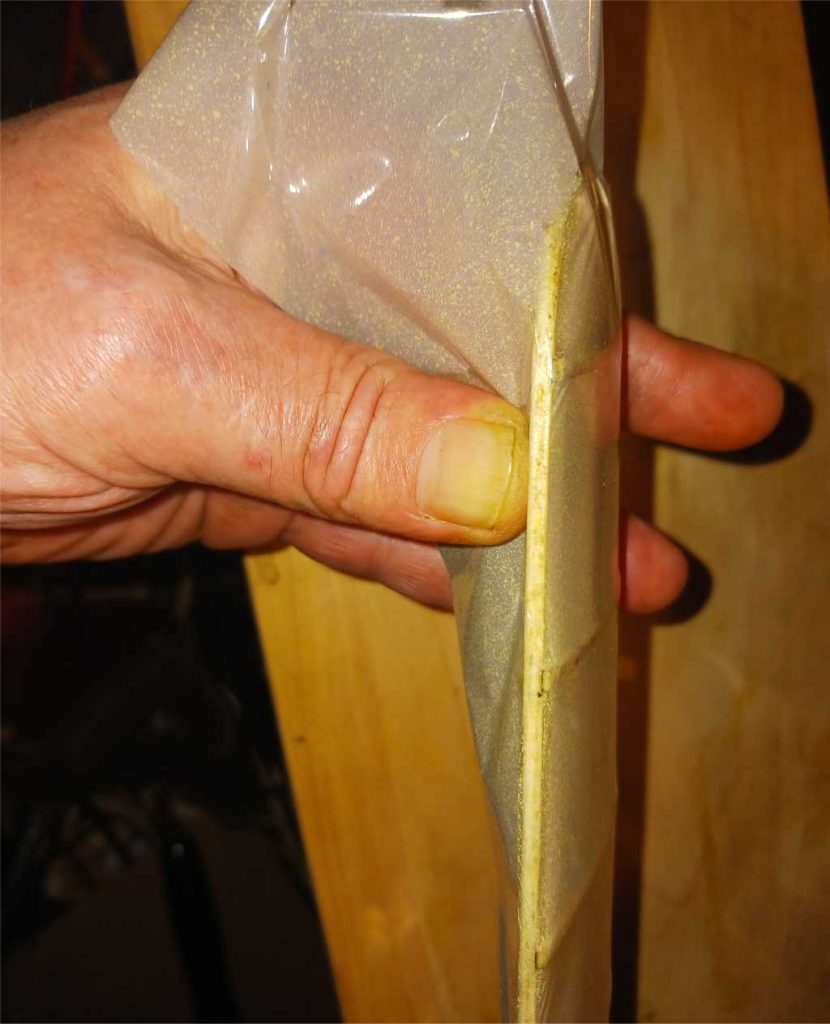
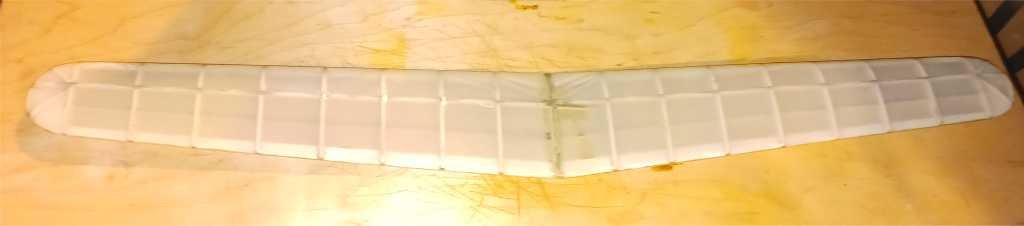
The top of the wing is done in two sections, and same as before along tacking the tips together, in this case, the middle of the rib as well as the tip of the wing.
Tack down the leading and aft section onto the center rib.
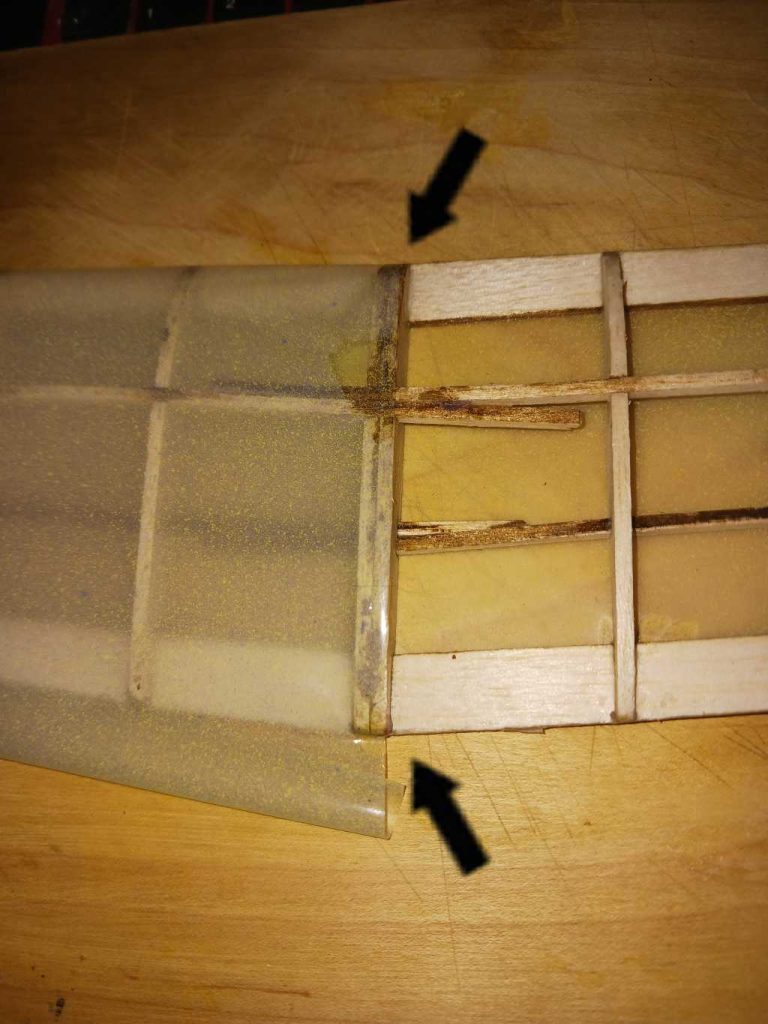
Tack down the outer tips as done with the lower wing on the invisible corners as explained, and tack down the rest of the stock on the center rib since you won’t have stock overhanging it to pull upon. Iron down the rest of the stock just as was done with the lower section of the wing from here.
Trim as before.

Cover the other side.
Shrink the covering using preferably a hobby grade heat gun, Hanger 9 is what I am using, an industrial one common to the construction industry requires more care to handle since it’s heat settings are too much, thus you have to use it with greater care as to not destroy the covering but can be used, a common hair dryer will be better then nothing too as well. I do use even the industrial heat gun for problem areas that require more heat at times, with experience I’m able to get away with it, for someone new to it, they will not. In addition, there can always be warping occuring due to the shrinking of the covering, thus it’s not necessary for perfection on this initial stage for that matter.
Tip, around the seams, ie. areas that overlap on the ends and in this case, tip middle section, use a piece of solid stock such as wood or otherwise to shield that area from getting heated up from the heat gun while you shrink it, otherwise they can pull away from the stock in those areas.

You can also use the iron in tangent when appropriate.
Inspect the wing for warps and if any are found, twist the wing to the correct spot and placement, taking note of the wrinkles forming and using the heat gun, apply heat to the wrinkled areas that form while it’s held in place.
The Tail
The tail stock along with the fuselage are solid which can be applied just as with the wing, or the covering can be more painted on like instead. With the painted on stock, you are applying it on one end or section, and ironing it across the surface from there, holding it tight in place to avoid wrinkles and air bubbles.

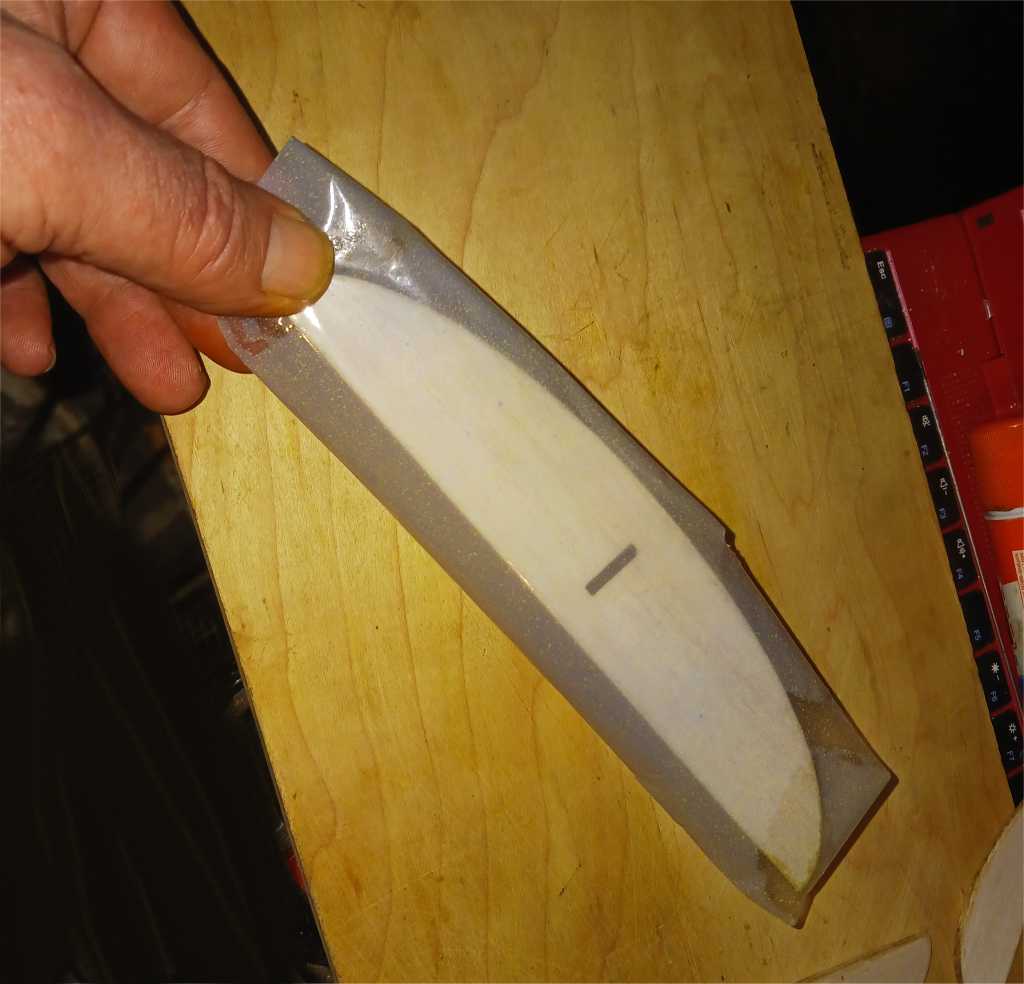

Do the same for all of the control surfaces and stabilizer sections. 1/16″ overlap is fine on these sections, as in just around the edges of the stock. Trim and finish as was done on the wing. After it’s covered, iron it down flat and poke holes with tip of your blade or using a pin as air bubbles form since heating it up will cause them to form.
Showing a section that’s getting covered using the same system as was done for the wing. Some times this is still necessary even though it’s a solid sheet.
The Fuselage
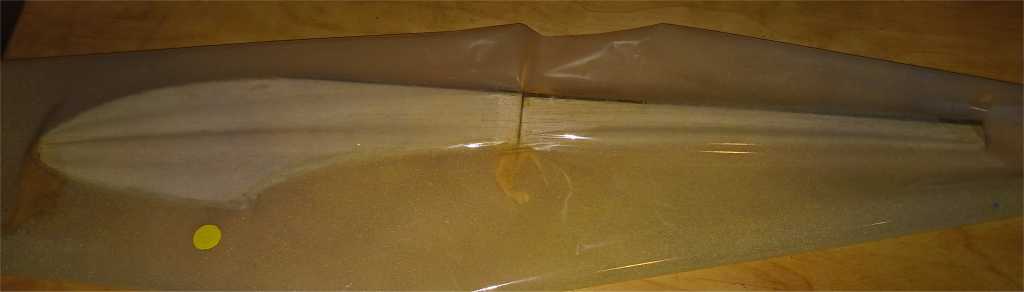
Being a sheet-ed or profile type of fuselage, the general covering can be applied using the tail section just the same, with the exception that relief cuts are going to be needed along the way. Fuselages are also typically done with several pieces as well.
Staring with the bottom section.
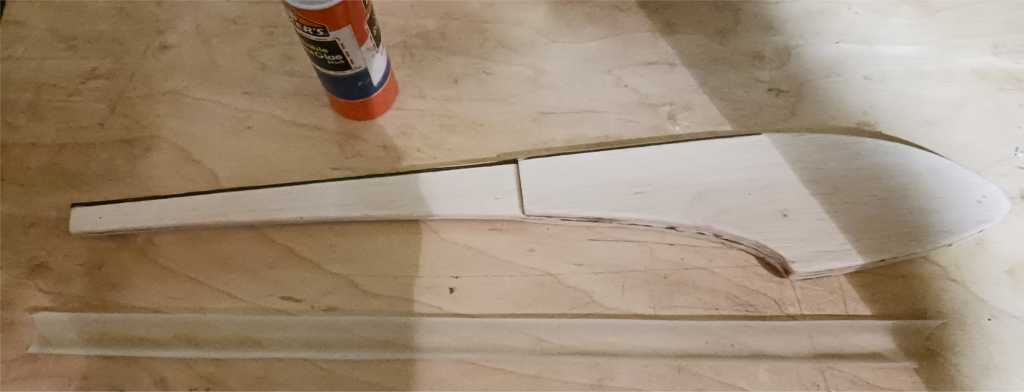

Adding second strip to cover the rest.
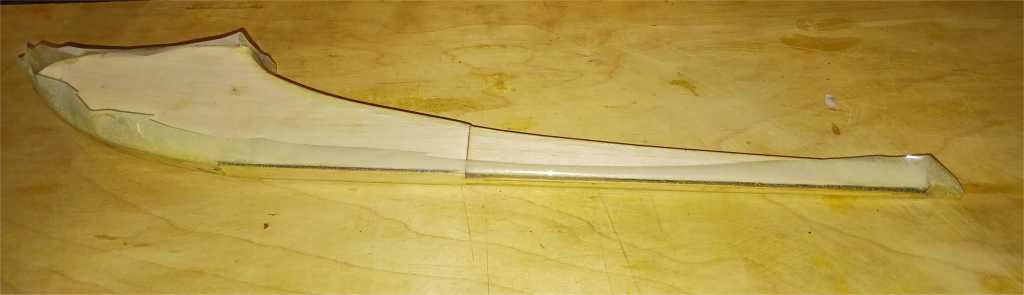
You will notice it’s not possible to do the wrap around like you did on the wing tips. Make relief cuts right where it bends appropriately and iron down, especially on the internal concave area.
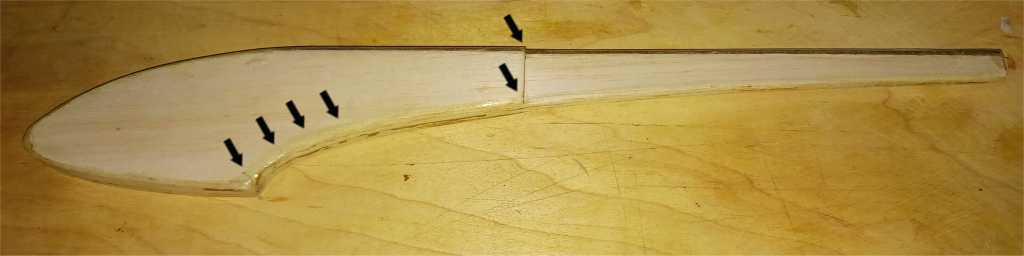
Since there is an abrupt step in the fuselage, it requires tacking it down along with the tips for tacking down the covering.
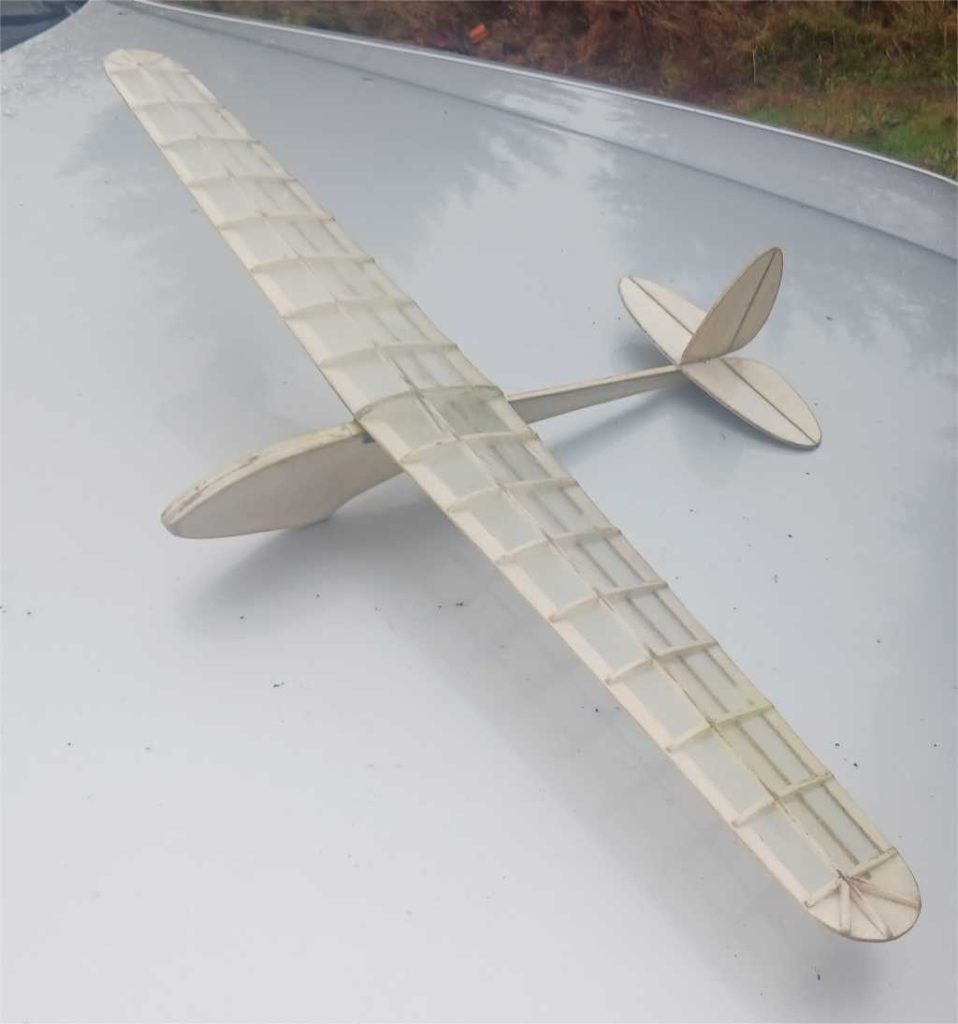
I could just paint it on as shown with the tail sections, in this case I choose to go with what I went with on the wing for tacking down the edges, open span fuselages will require going that route anyway. Showing the completed plane, instructions upon the rest on this particular model are at the Sparrow page build guide section. Also, you can put the sides on before the top as well, it’s a personal preference type of thing that may come in mind for higher performance planes.
It can be helpful to lower your irons heat settings when adhering to sheets of stock, increasing the heat as you go back over it after it’s initially tacked down. You can practice on some cheap crafts tissue and glue stick as well, it can be removed easily enough, you will be relying more upon relief cuts though since it does not stretch like plastic coverings do when applying them. Overall, it takes practice for more expert results, but this should be enough for acceptable and with Doculam, even the best you can do will still have a few flaws here and there. Ultracoat and other specialty coverings designed for the rc plane hobby industry are easier to work with then Doculam too so should be considered using at least for those newer to covering for best results. Tissue and other types of coverings are not addressed with this guide, still, many of the same procedures and techniques still apply what is shown here, over to working with them.