Starting out with the basics along creating simple objects on this tutorial. An object can be there to both extract the space as well as create and combined with others for both more complex building structures. Refer to the prior page along processing for use for the 3d printer and in addition, additional steps for reference upon since it’s necessary to be familiar with them to make better sense of the instructions.
This is using the default cube that is loaded up in Blender to utilize for a starting point. The same goal, a square with a hole cut through it as what was shown with the prior tutorial, created this time entirely within Blender.
Click the Add button and cylinder option to create a new object.
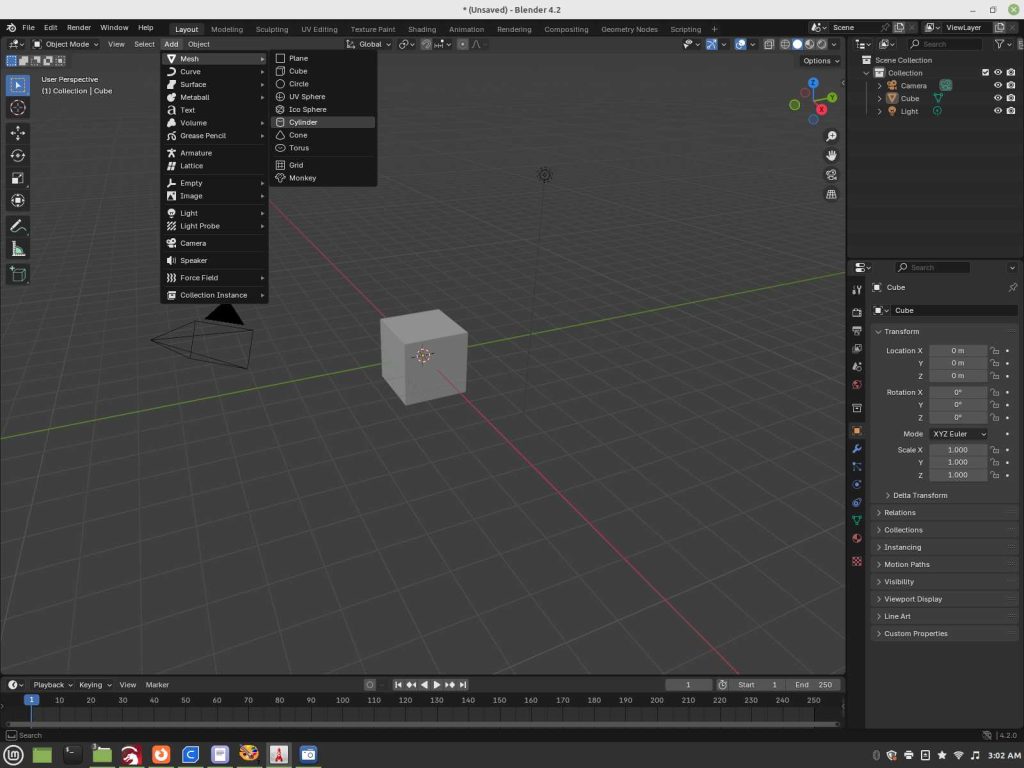
You will have a cylinder the same height as the default cube.
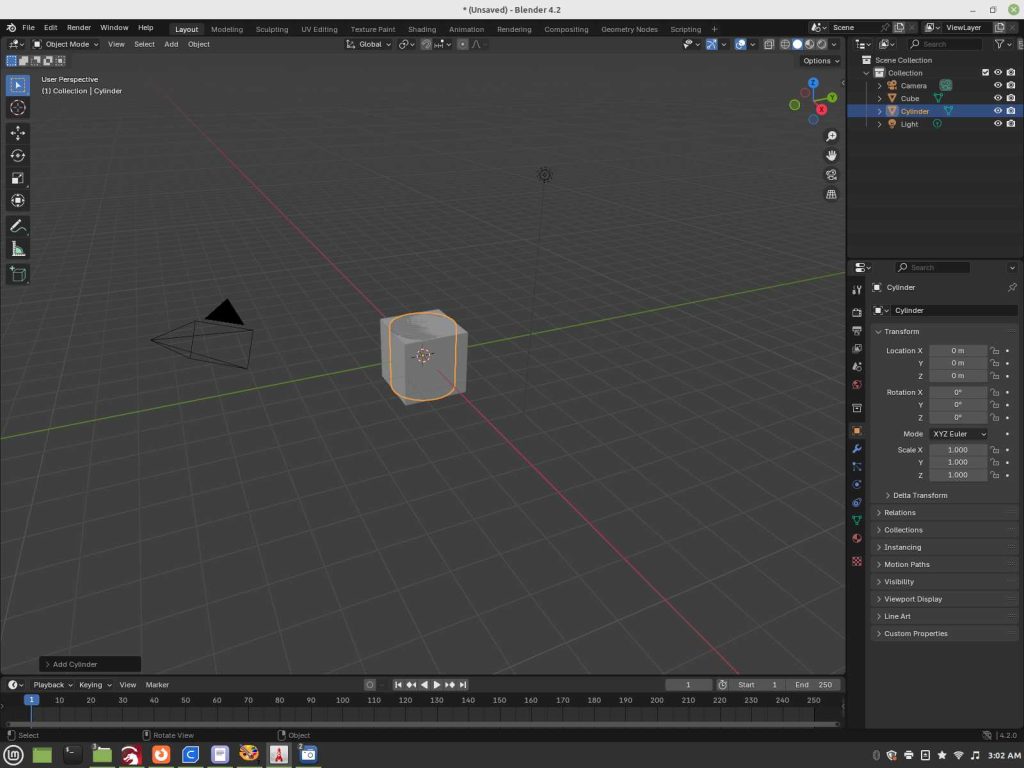
Switch over to Edit Mode
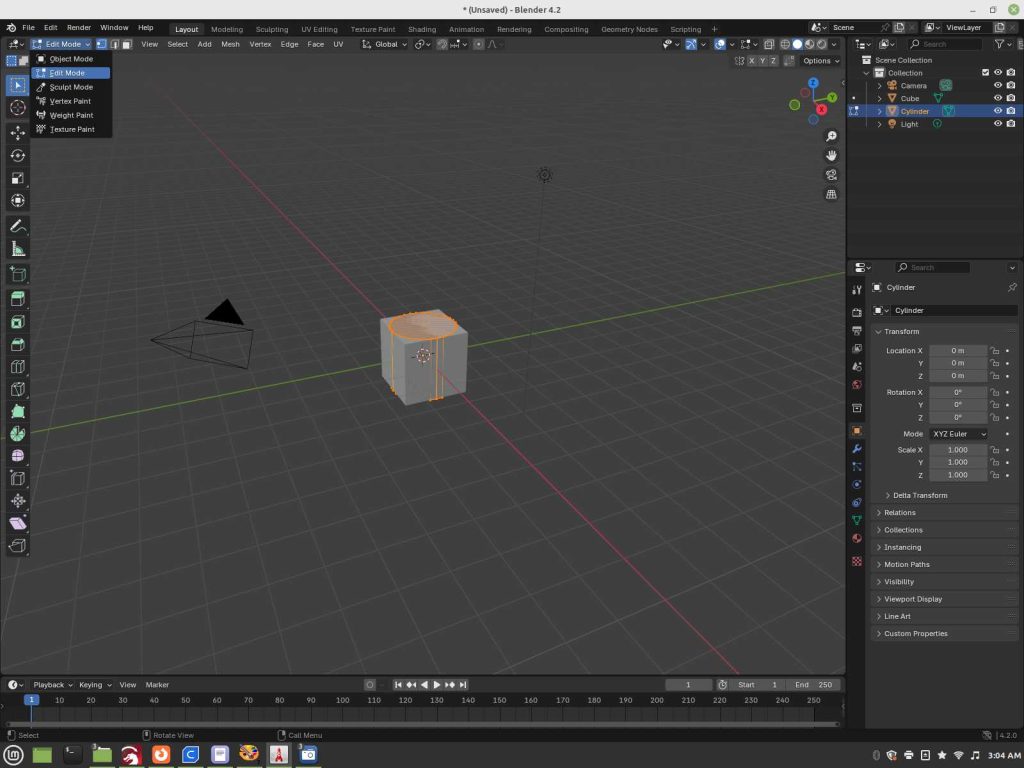
Select the Scale button on the left. Take note of the icons showing the control on scale, pointing to with the red arrow, full sale of object to shrink it overall. The rest, scale accordingly.
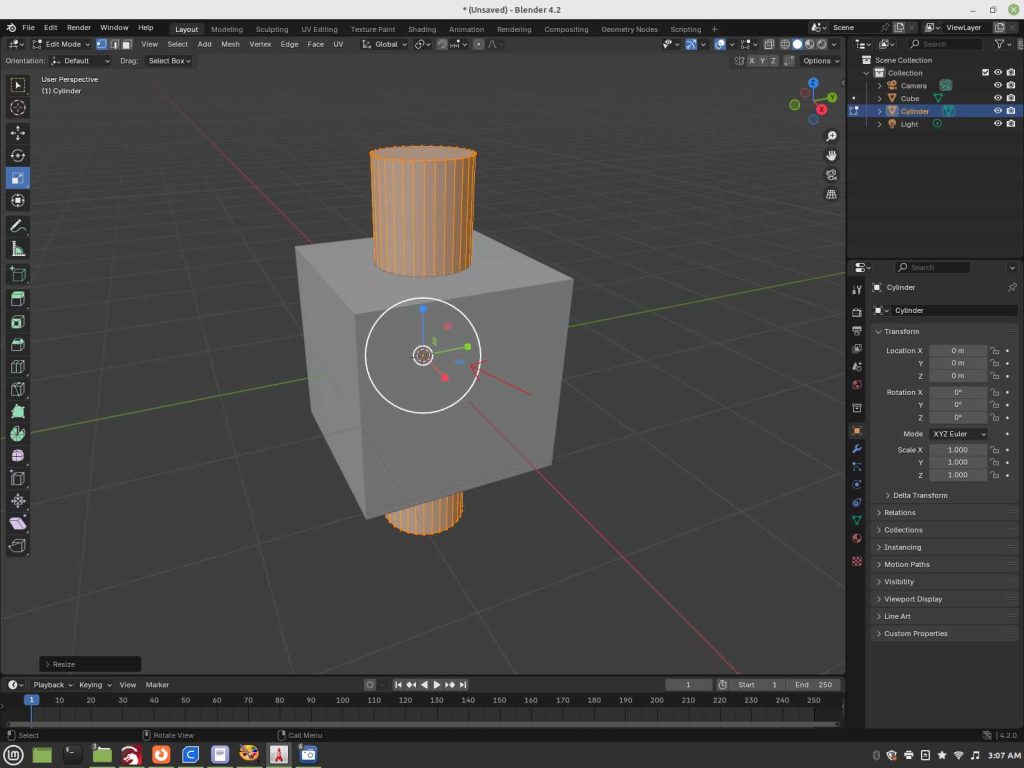
Go back to object mode.
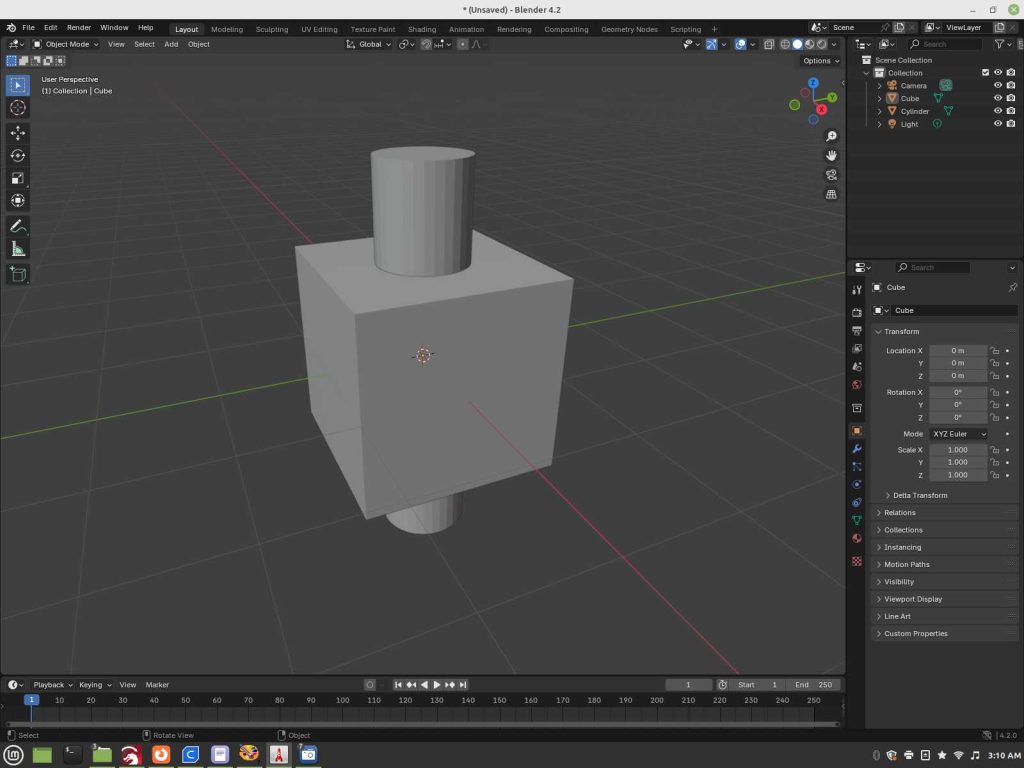
Use the same system for Boolean/Difference to now convert the cylinder into a hole into the cube as instructed prior. There is a small arrow icon to select which opens up an additional menu, shown with the white arrow pointing towards, select and open it.
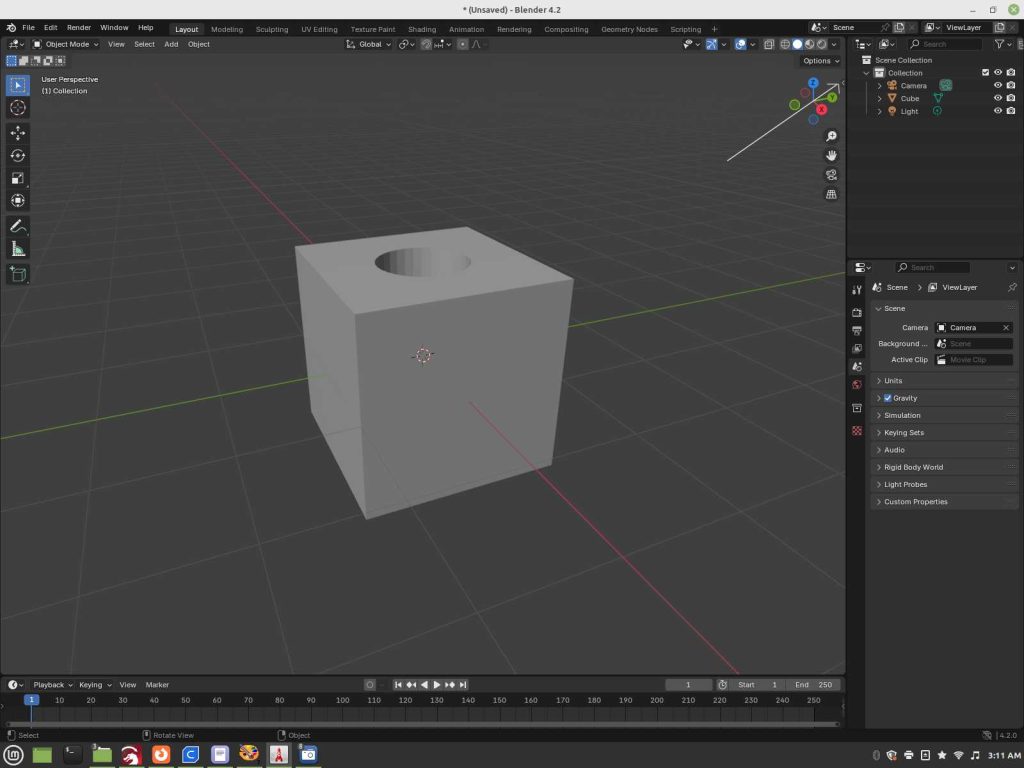
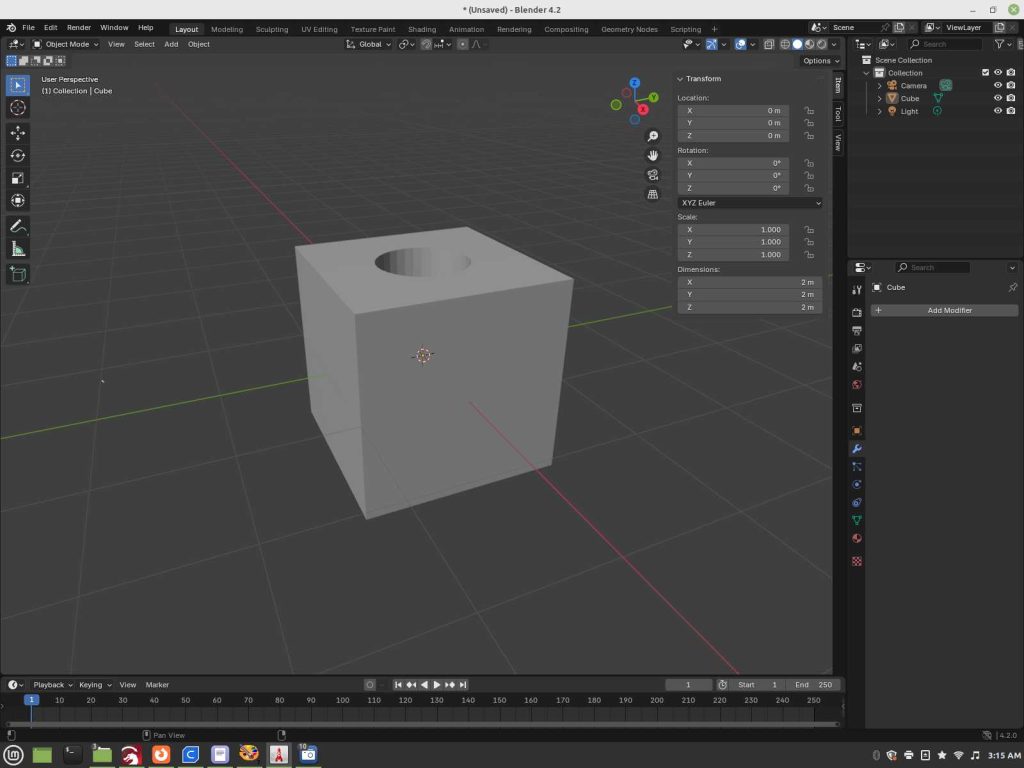
Scaling it from here can be typed in or using the mouse to drag to drag.
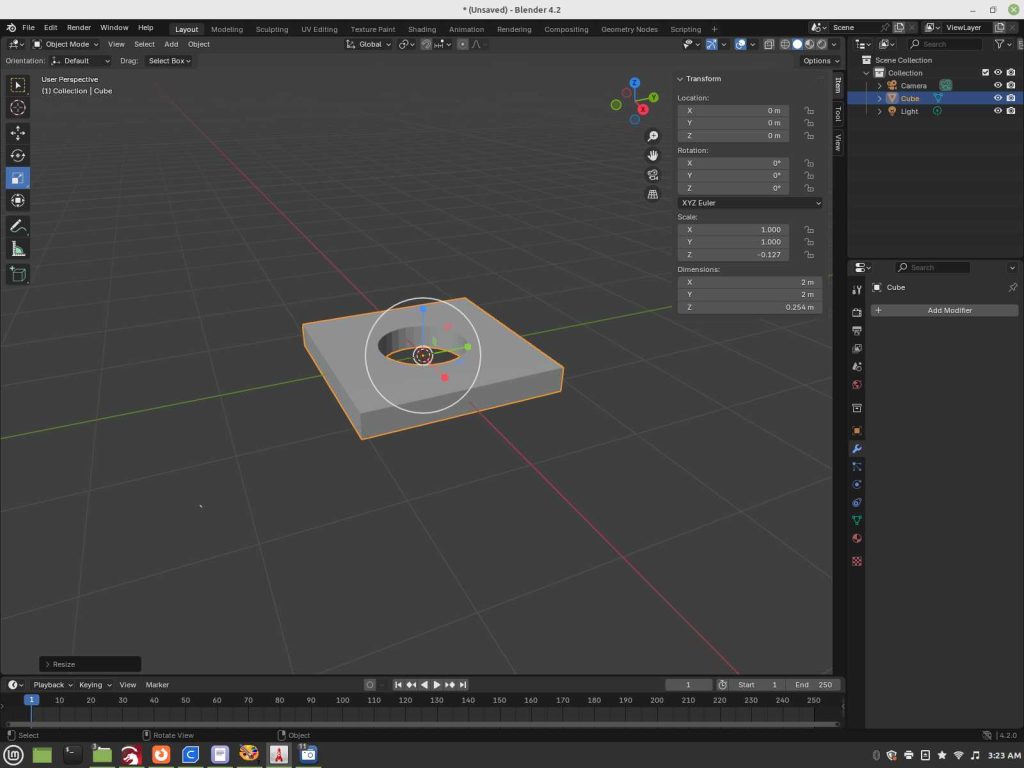
Use the same process as the rest for exporting and use to 3d print as instructed prior.
As was revealed in the menu’s, a range of objects can be selected and used in this manner in addition to combining them into more complex shapes to extract from each other such as using the Difference option, or combining using the Union option.