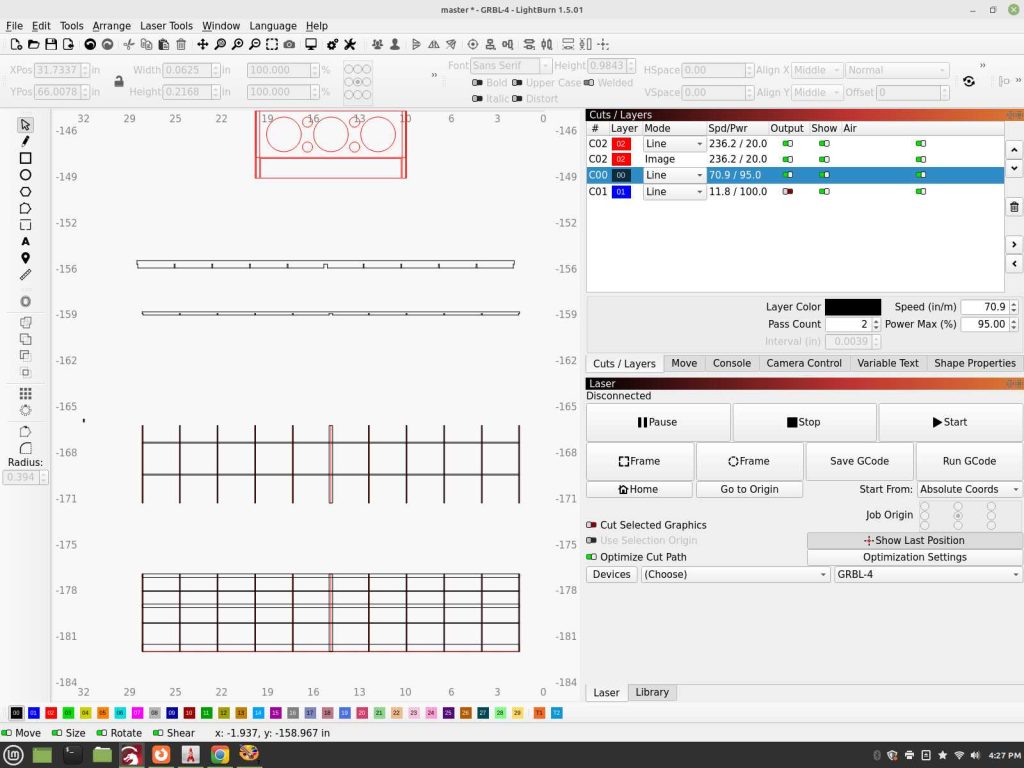
Start with assembling the wing-plan from the printed sheets. It’s marked along where to cut and join/tape each section. Lay down wax paper on top of it and pin it down to your builder board. I prefer using a section of plywood and foam board glued down onto it for my build surface.
Based upon kit version, prepare the main spar, leading edge and boom stock by gluing together from the 1/8″ stock or removing the sections from the 1/4″ stock sheet provided, each coming out to 1/4″ x 1/4″ stock of various lengths when completed.
Glue together, joining the fuselage halves.
I’m showing on the wing-plan, slightly offset to help along the visual for the tutorial, make sure your stock is laid down exactly within the lines, true and square.
Wing assembly:
The wing-plan is included in the kits but if you damage or lose yours or just want to print it out to get a feel for the model before purchasing they can be found here: https://happyrcflyer.com/250-twin-boom-wingplan-print-1.pdf https://happyrcflyer.com/250-twin-boom-wingplan-print-2.pdf https://happyrcflyer.com/250-twin-boom-wingplan-print-3.pdf They are designed to be printed out on regular single sheets of printer paper, cut and taped together.
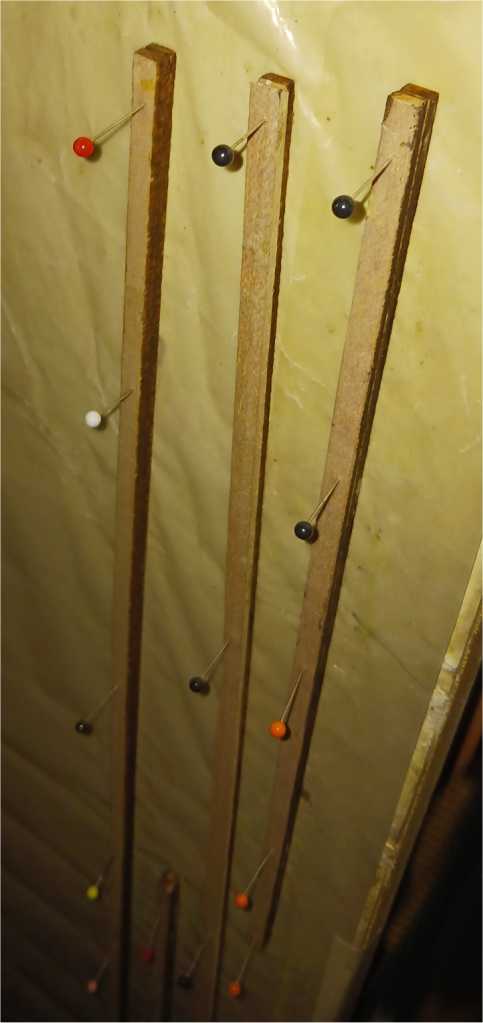
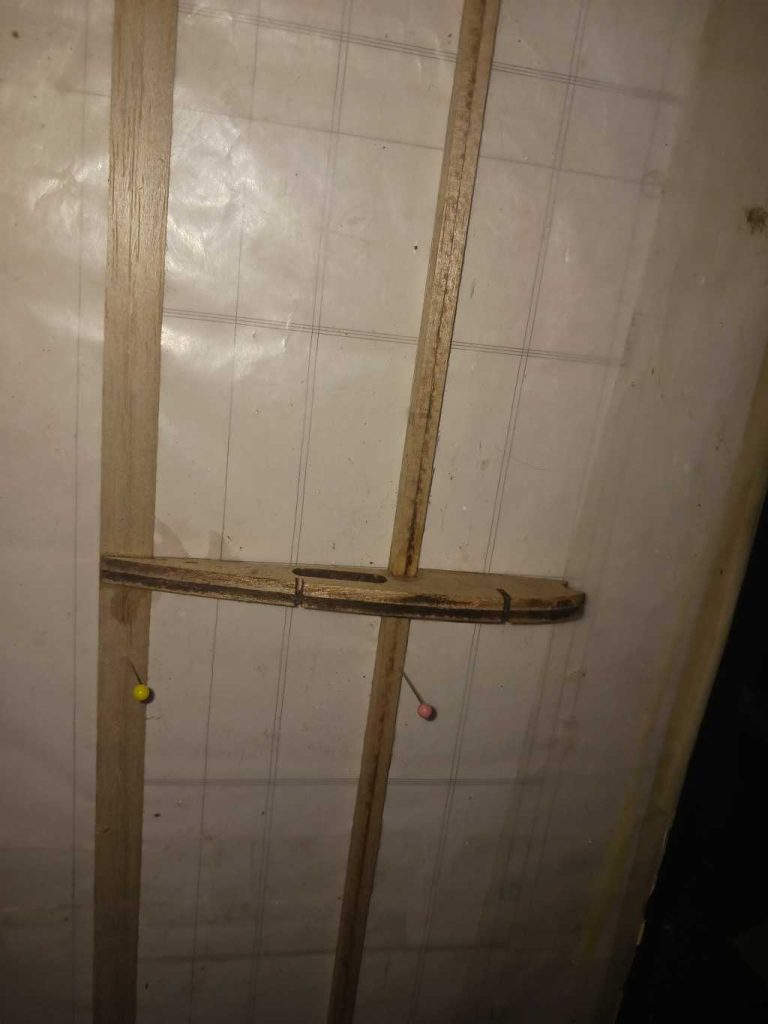
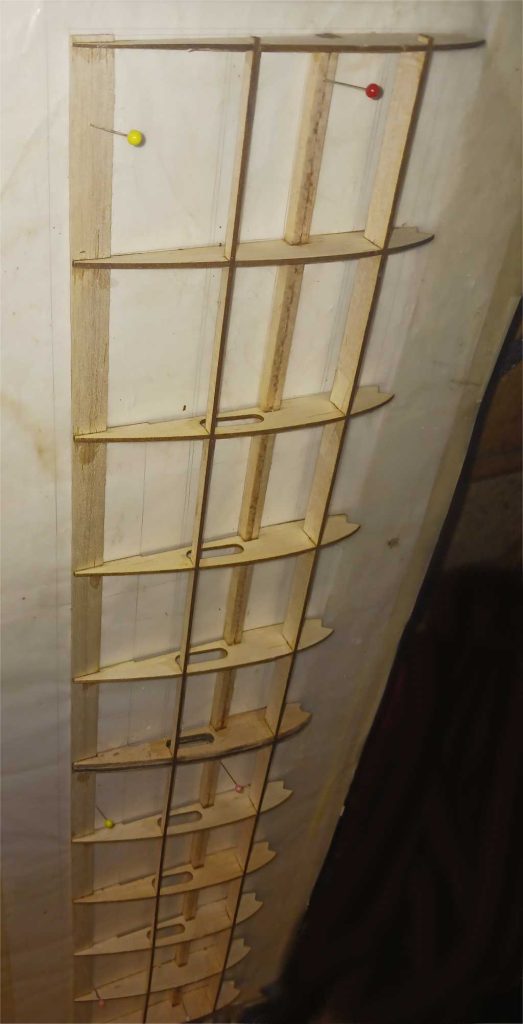
Pin down the bottom/main spar and trailing edge stock onto the plan. Glue together the 1/8″ center ribs and glue into place.
Glue in the rest of the ribs. Take note if you are cutting your own stock to length on the long lengths by hand for short kit version of sorts on this kit, it can be easier to cut them longer and sand down later as shown I’ve done with the trailing edge stock. * Simply place, not glue in the rest of the ribs until you have put in/placed the top spars optionally.
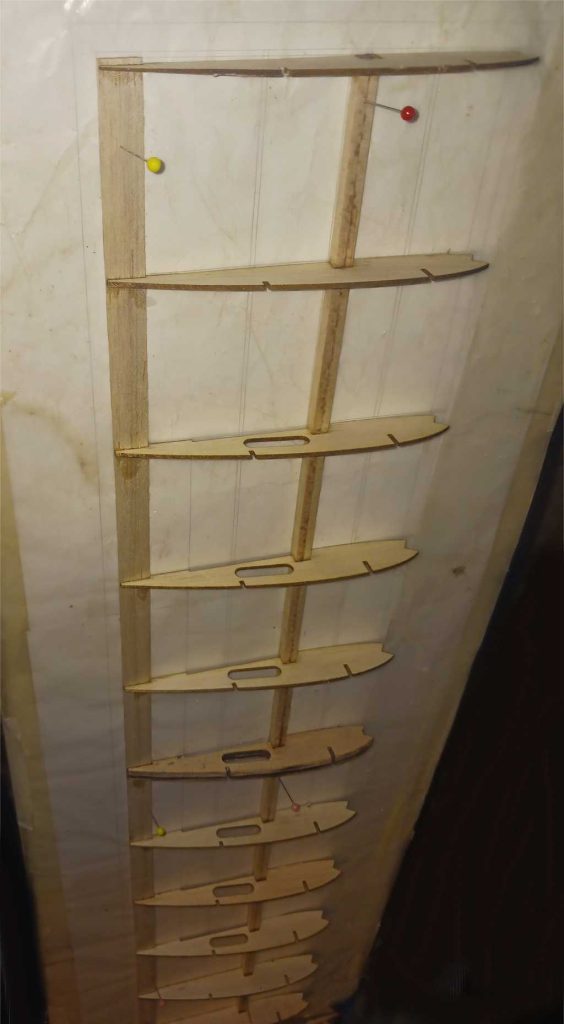
Take note, the outer ribs are solid while the inner ones have a divot underside and have openings.
Add the top spars next. Be gentle on the tab and lock system, lining them up and moving into place in short increments, straight stock can be used instead and may be supplied as well.
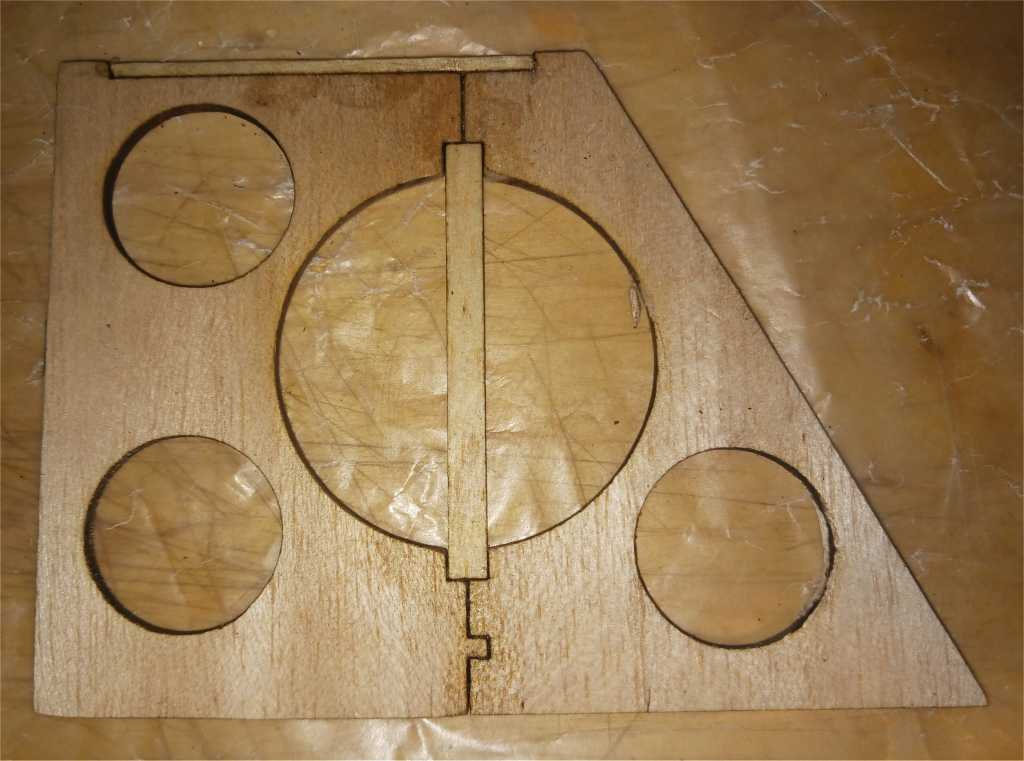
Prepare the mounting plate section, gluing in the thin ply servo plates. Revise openings to size to accommodate the servo’s you are using. 3gram – 4.5 recommended.
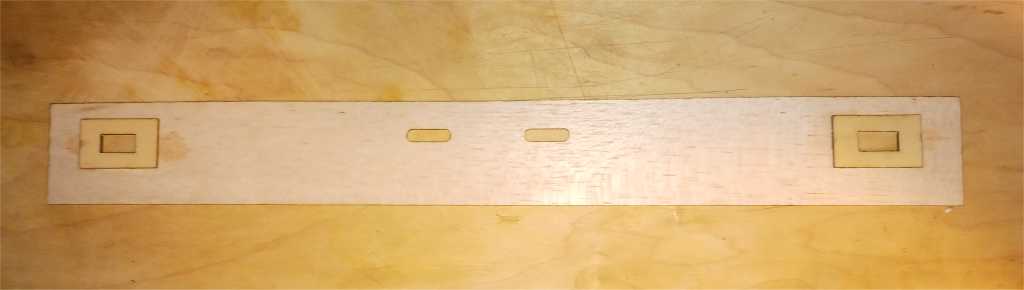
Glue the mounting plate into place along with the leading edge stock.
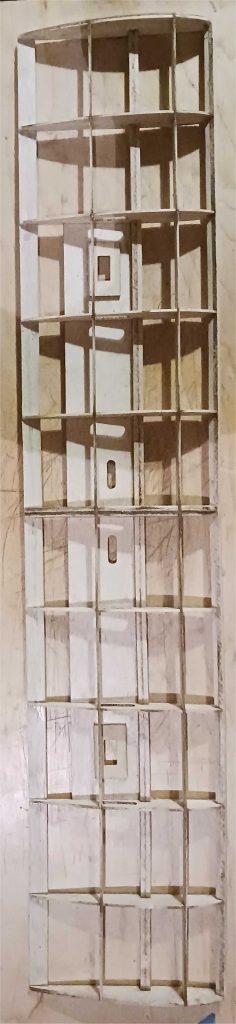
Moving onto the rest of the build, do take note there is some light finishing, sanding and the rest to fine tune things. First time builders is suggested to only use wood glue, pva by another term, and lightly tack in the parts before committing after they dried, following up with thin superglue/CA.
Tail fin construction is pretty straight forward.

Moving on from here, the main parts covered.

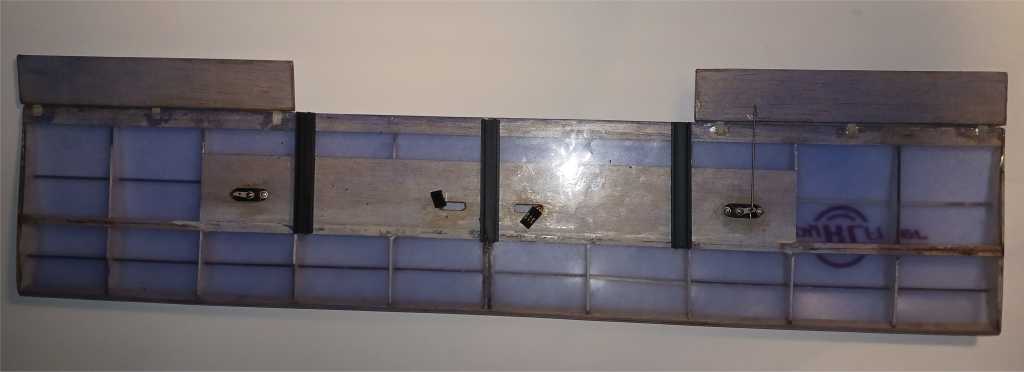
Beginning with showing the boom and tail sections in place, with the elevator stock not shown, used for measuring the proper distance before gluing into place. First time builders do not that you will want to lightly sand the area to remove the paint to glued surfaces.
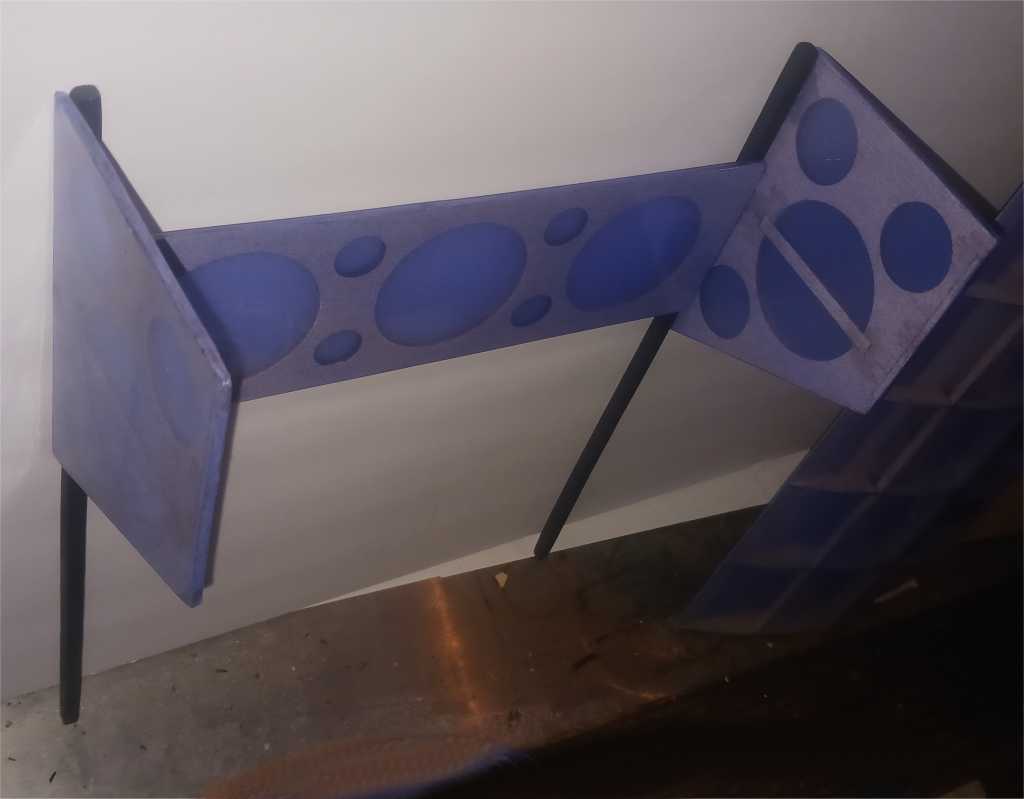
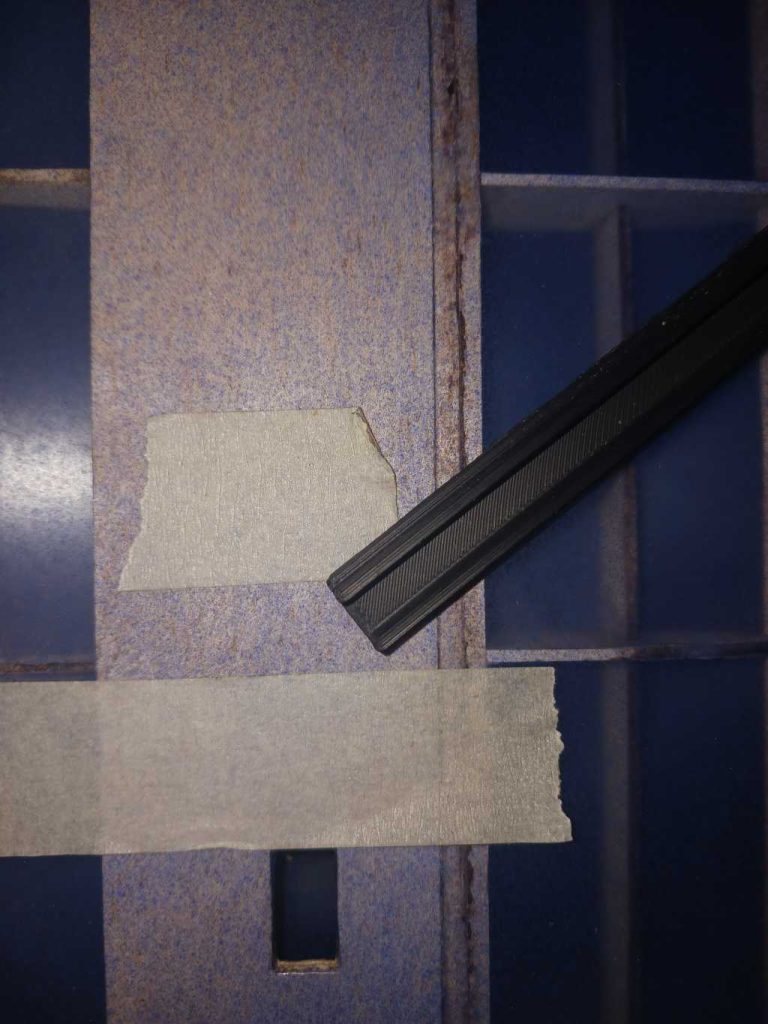
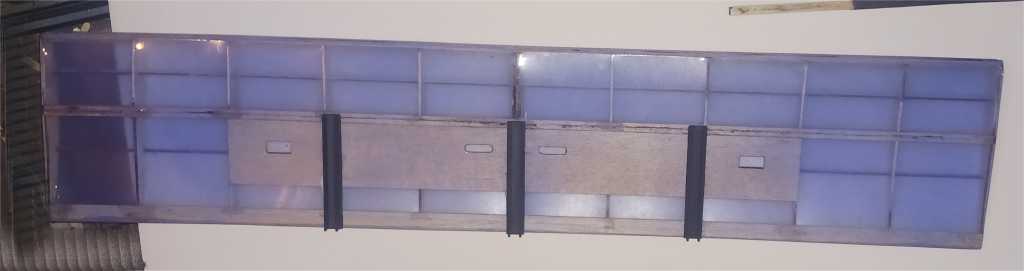
Fit the stock to the 3d printed channels, some light sanding is required for those that want to rely upon glue, the tracks are designed for a tencile strength pressure fit with the option to add screws to hold them into place.
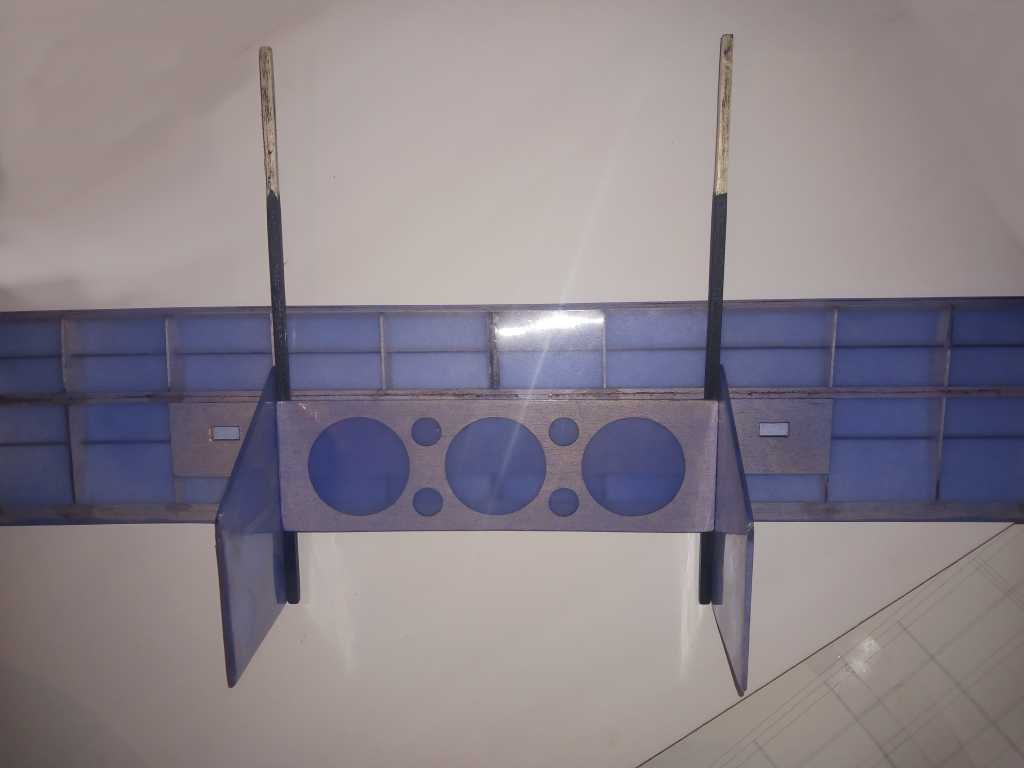
Mark the areas on the wing for where the 3d channel stock will mount. Cut away the covering accordingly and glue into place.

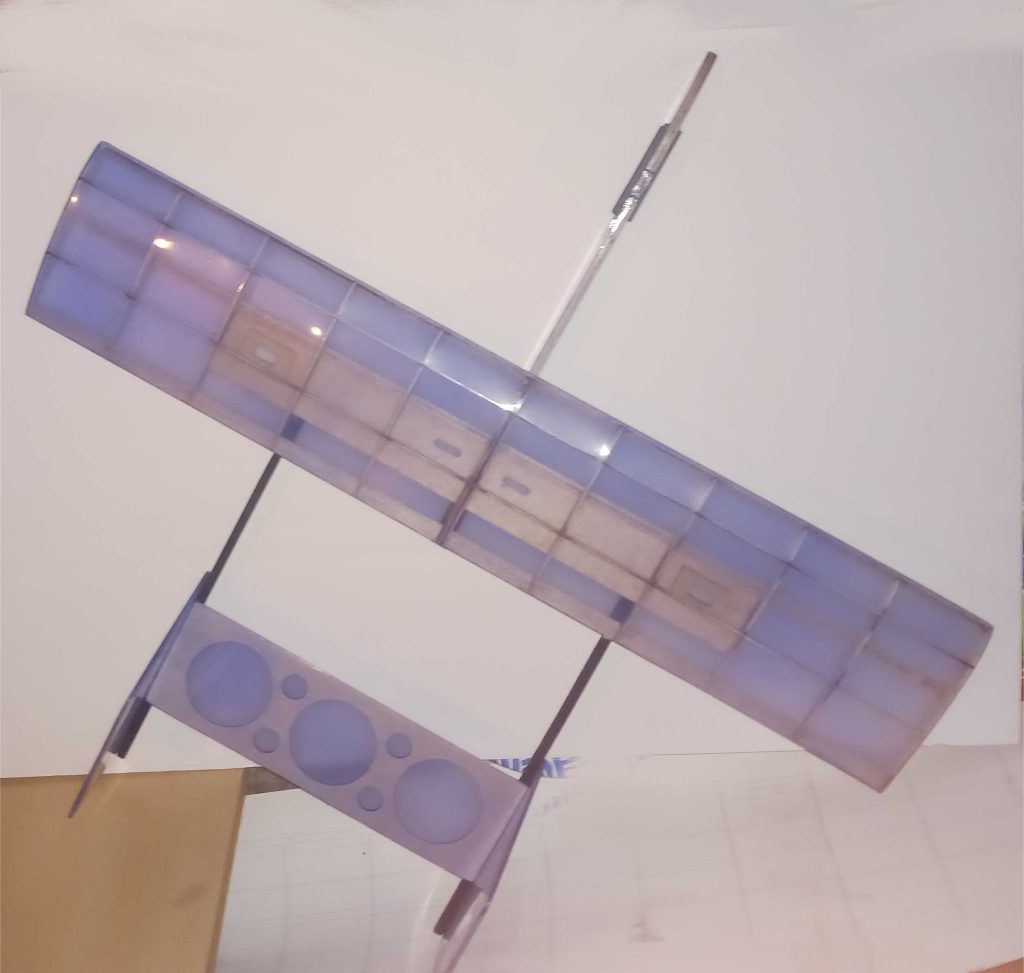
Test fit the booms and fuselage, with the latter needing to have the covering and light sanding where it fits in.
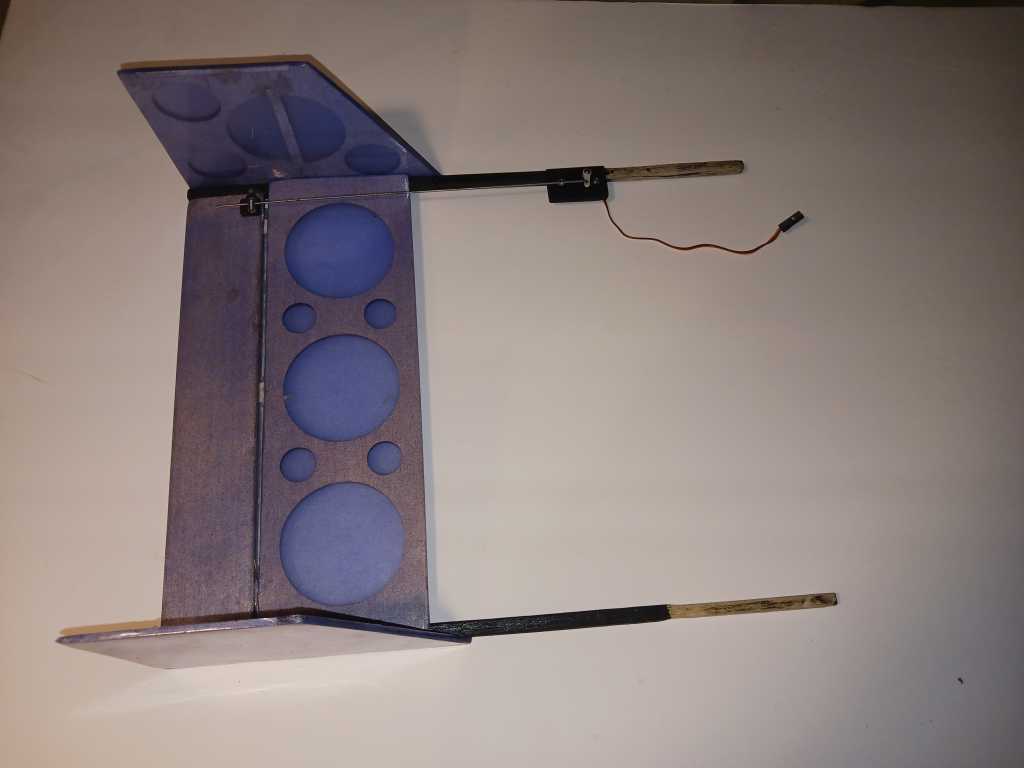
Mount horizontal stabilizer, control horn and aft control horn mounting plate assembly. Install servo and push rod.
Mount ailerons, servo’s and push rods. Take note the CA hinges mounted to the bottom of the aft wing stock and center on the ailerons.
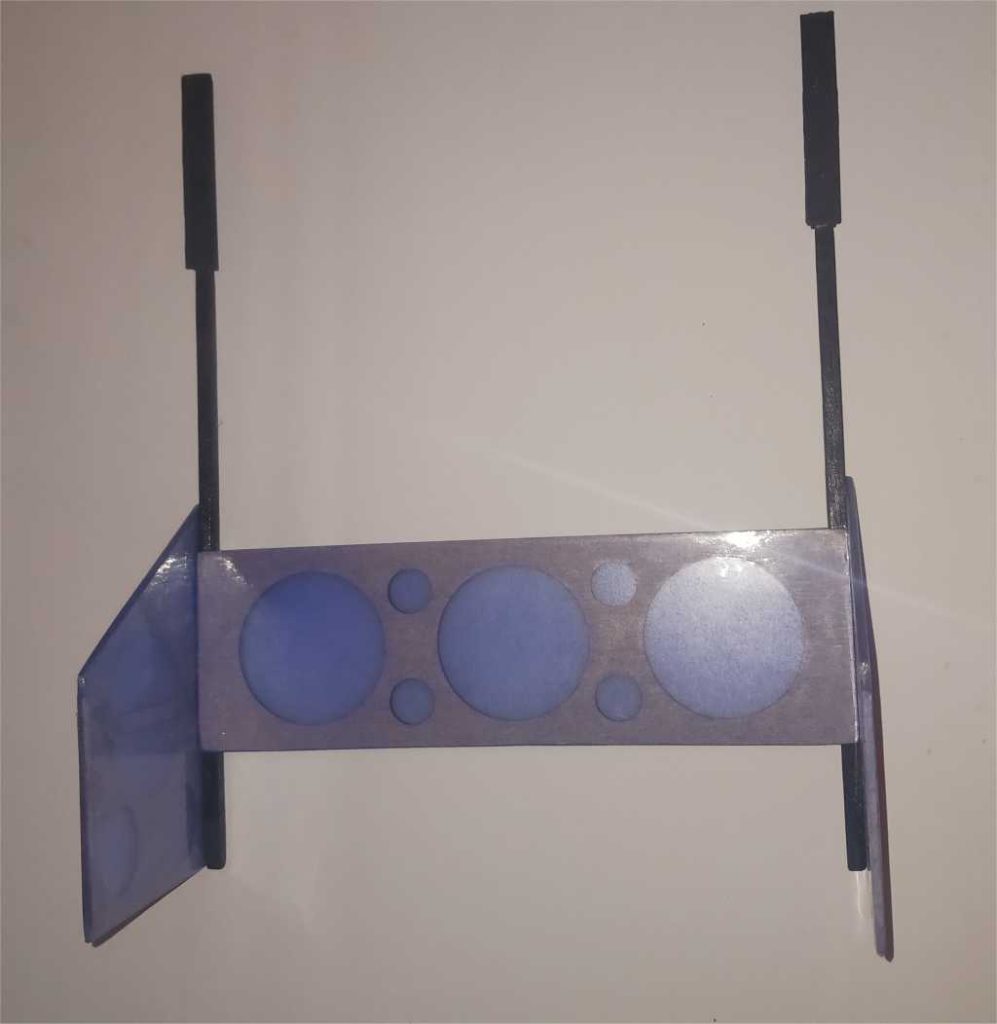
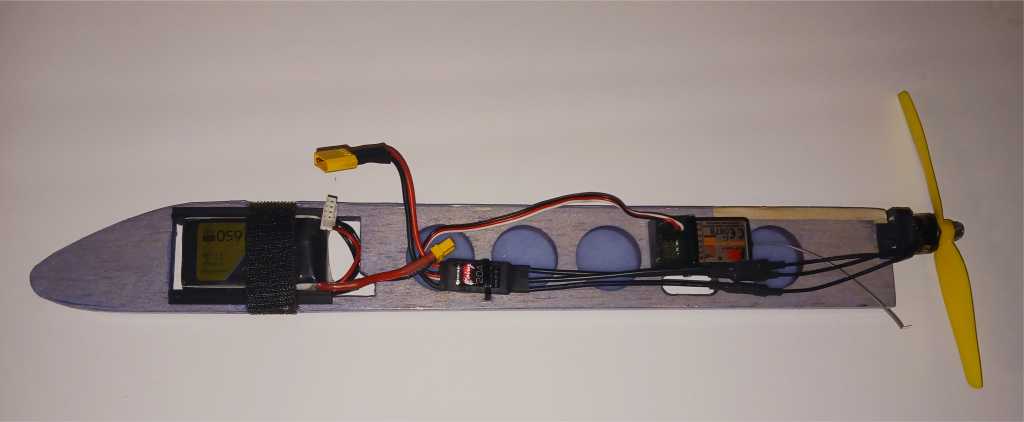
Add the motor mount, battery holder channel, velcro strap and zip tie’s for the receiver and esc.

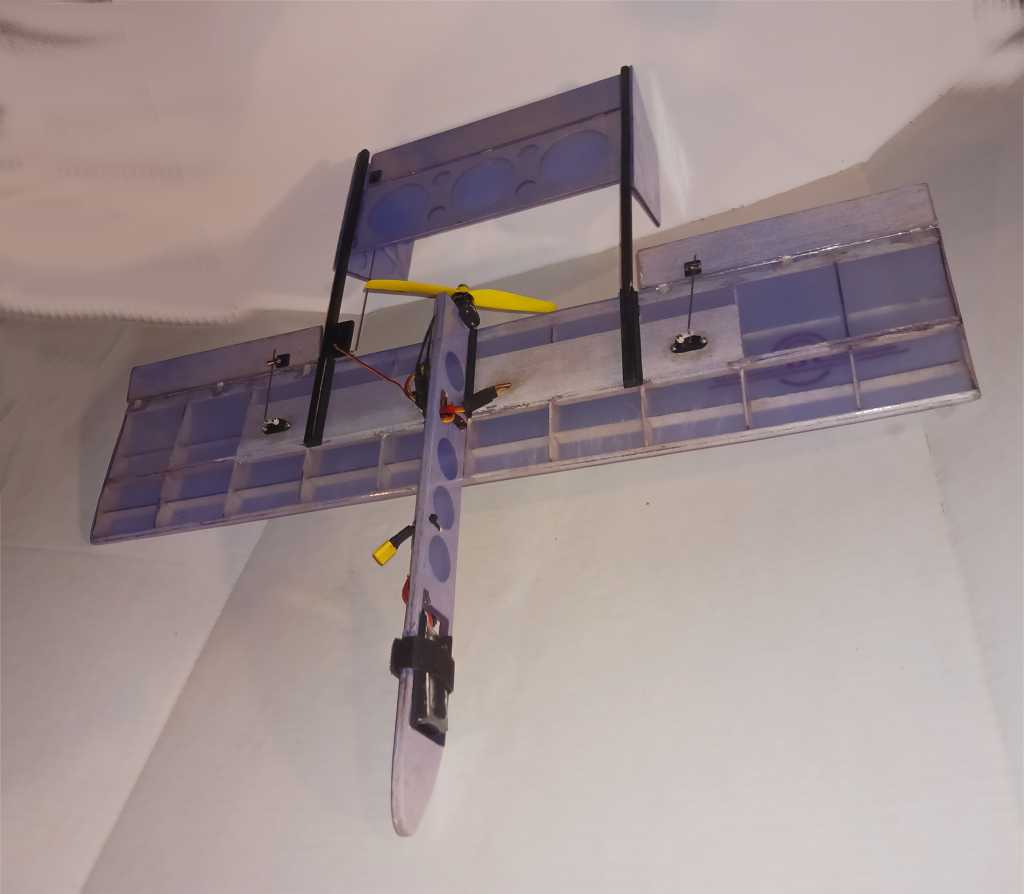
Connect the sections together, glue in place, fuselage, and tail booms. Install the Y-cable and connect to the receiver for the ailerons. Epoxy is recommended for this step.
Not shown, but used were clear Doculam stock covering on top of the CA hinges for the control surfaces.
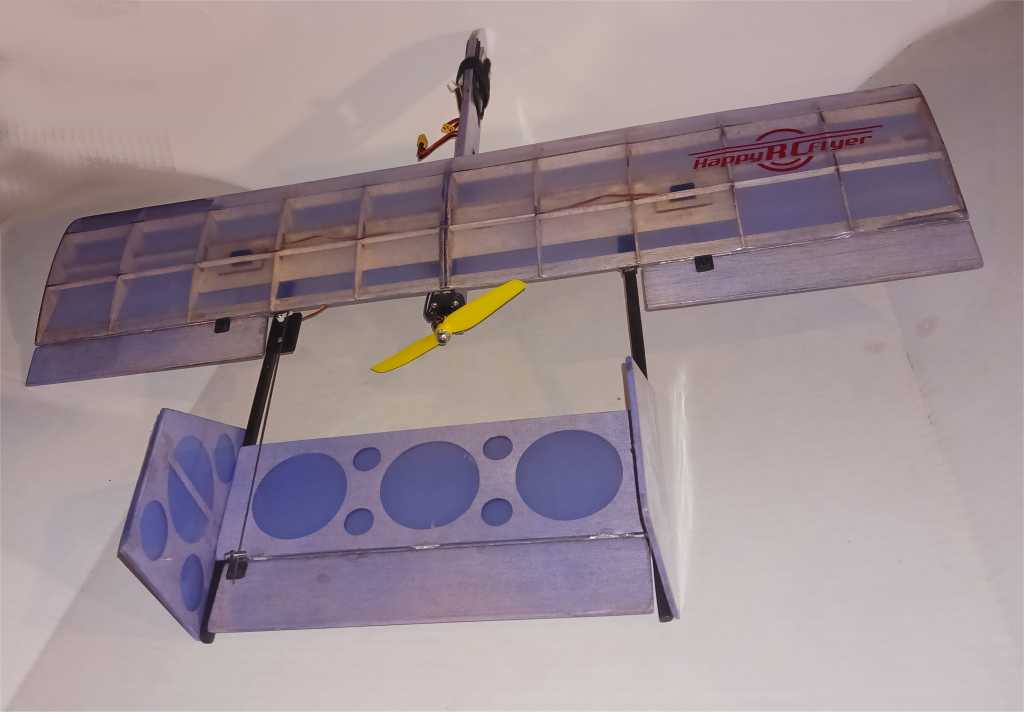
The design is forgiving, do your best to keep alignment as best as you can to be square. Trim out as needed regardless. Dial in 2.5 degrees pointed down and 1.5 degrees to the right thrust angle on the motor roughly, adjust as necessary.