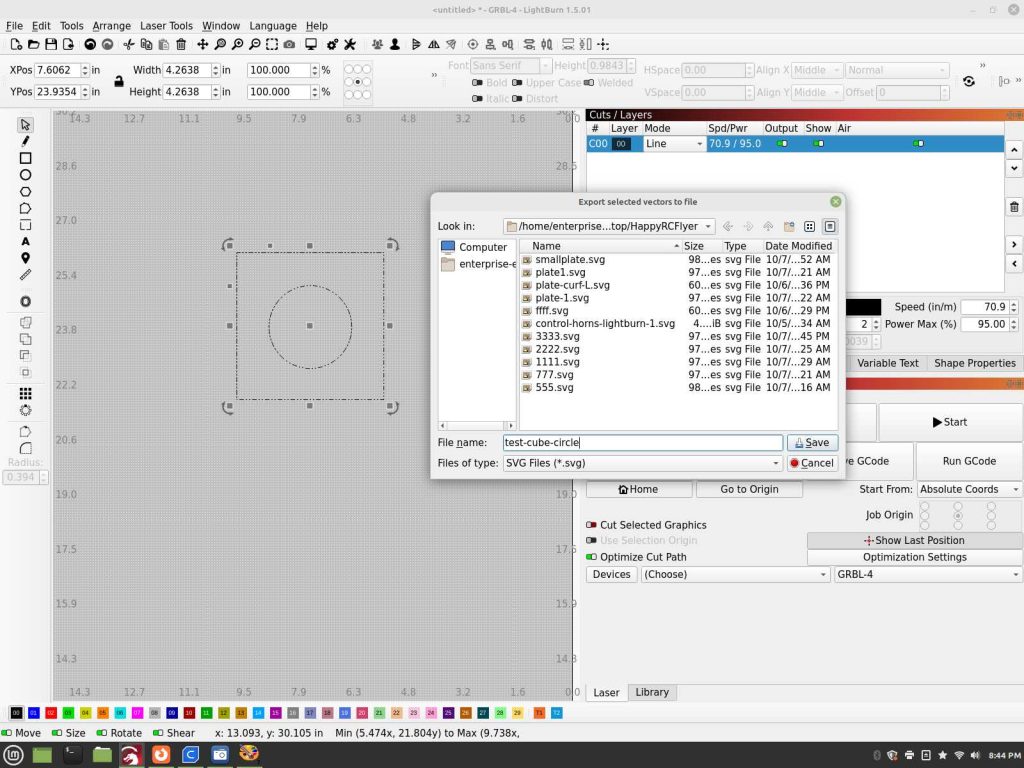
I am using Lightburn for the CAD element, any 2d CAD software will work as long as you can export the file as an SVG file. The file name is test-cube-circle, it’s a square with a circle drawn into it. The bottom of the page links to working with objects created within Blender rather then imported 2d files using the same procedures shared respectively in addition to the URLS for the software used.
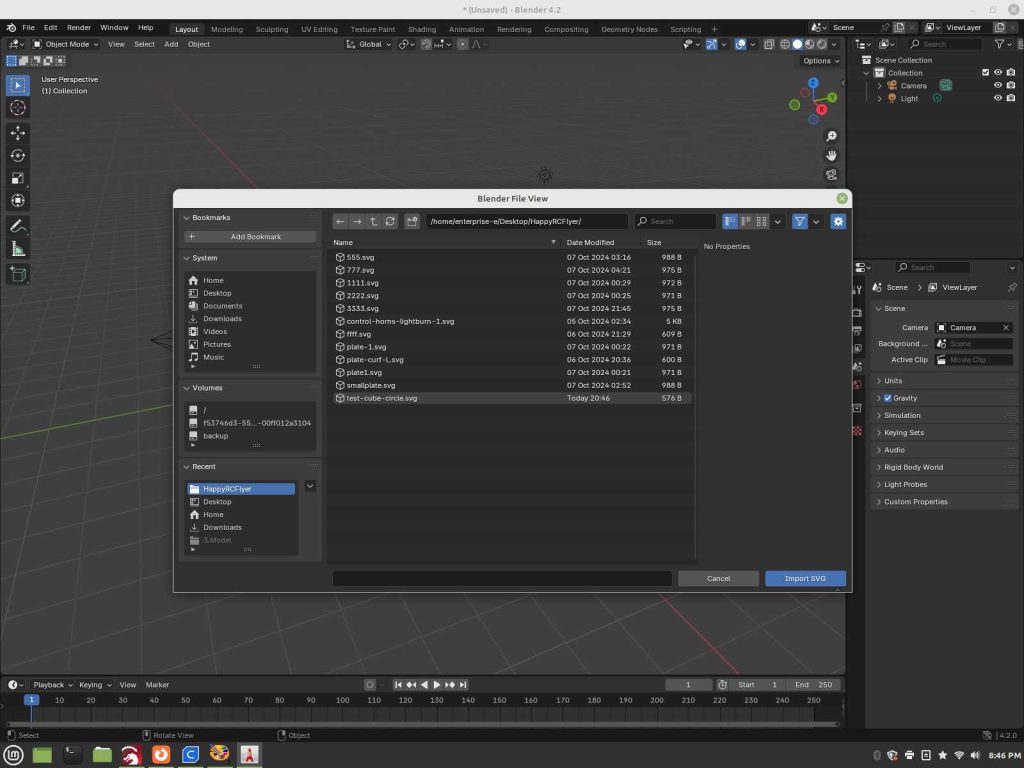
Using Blender for the 3d software element, importing the file into it as shown, under the File – import option.
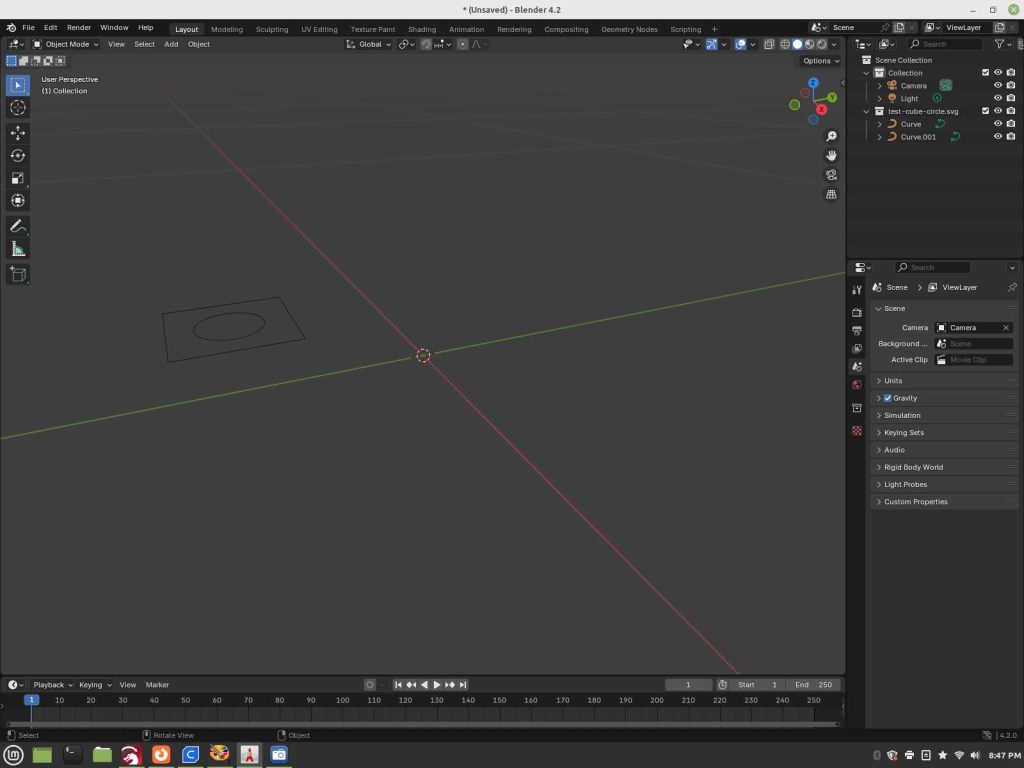
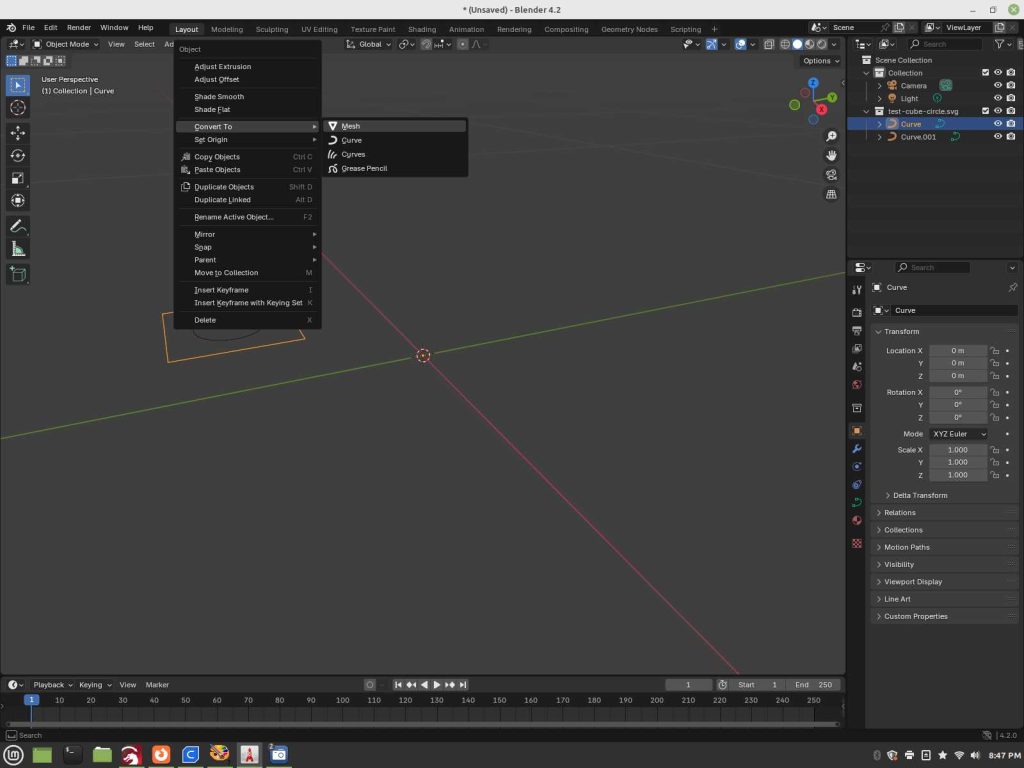
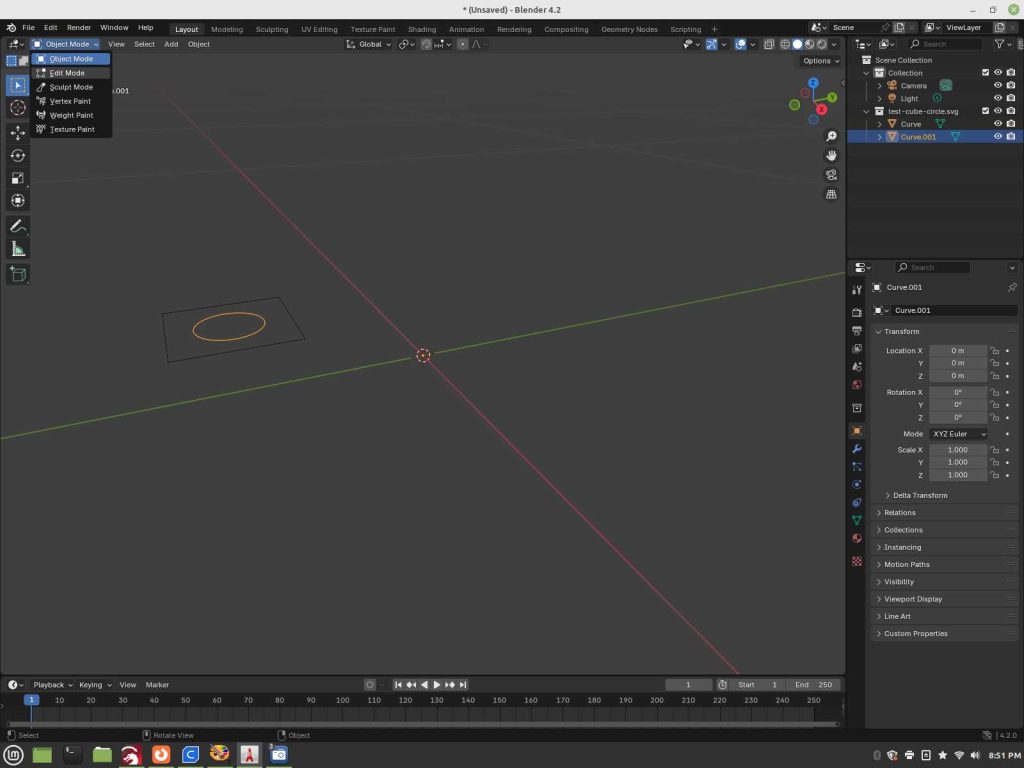
From here, you will see the object. Select each section one by one to work with, via. left click, and using the right click menu while it’s still in selected mode, choose Convert to – Mesh, option.
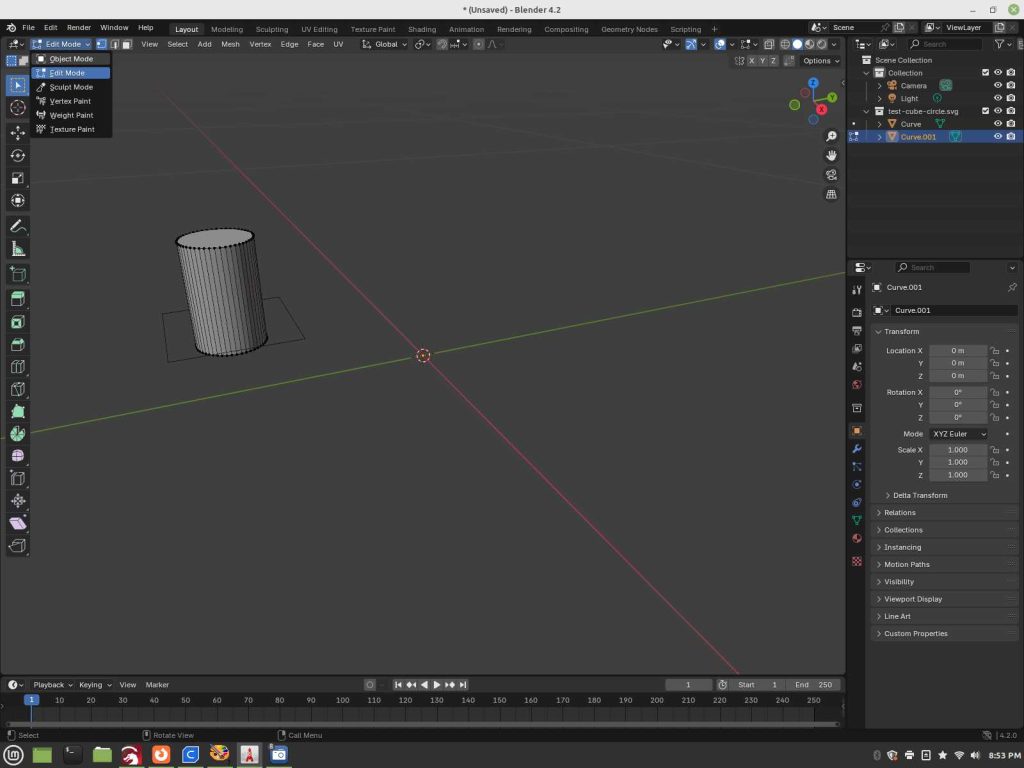
I am using the circle to cut a hole in the square, with it selected. Choose from the drop down from Object Mode, over to Edit Mode.
In Edit Mode, you will see the object deselected, press A on your keyboard which will select all, the full object.
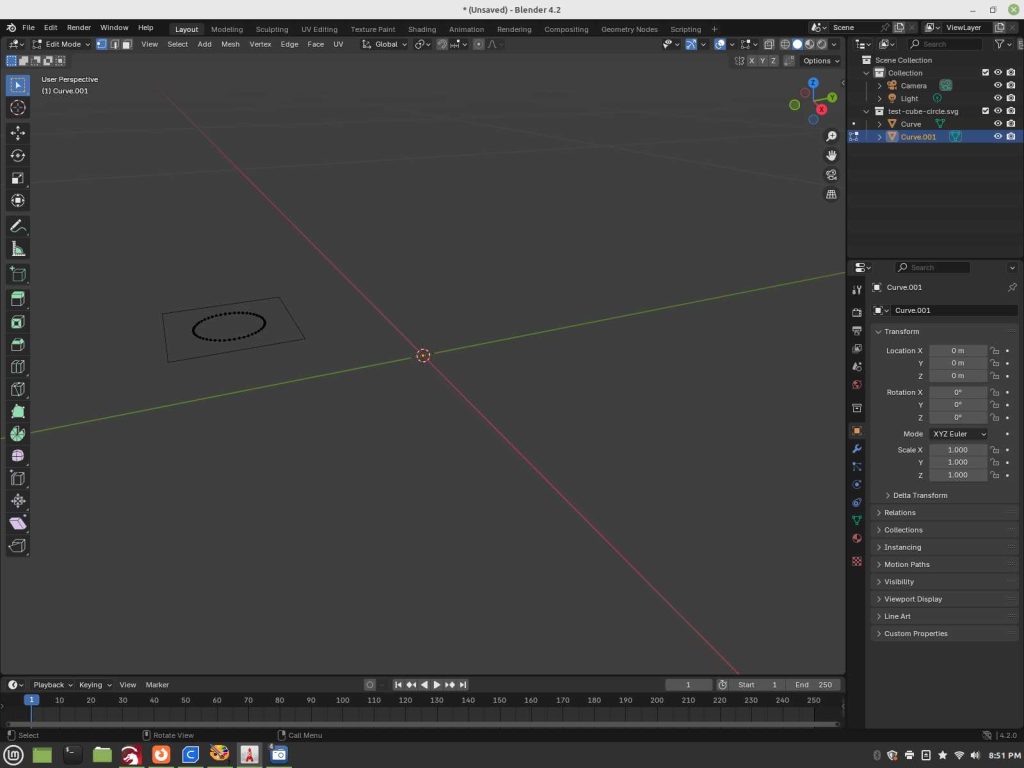
Press F, which will fill the object, making it a solid.

From here, click E, and it will now extrude it, giving it height by dragging it with your mouse.
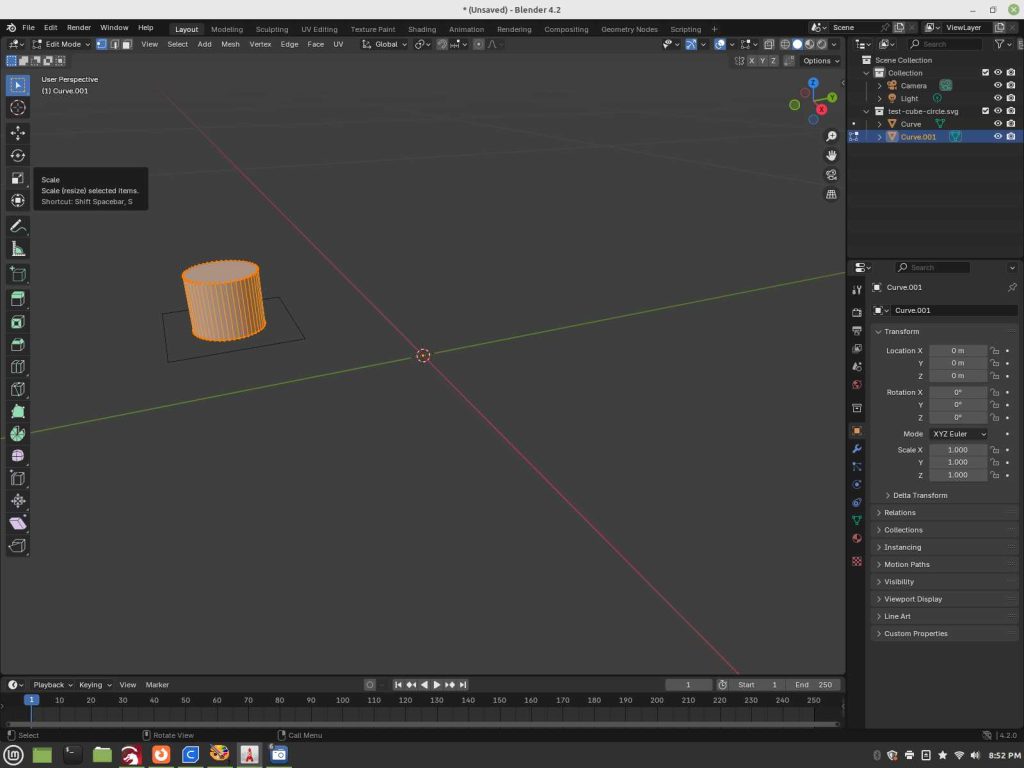
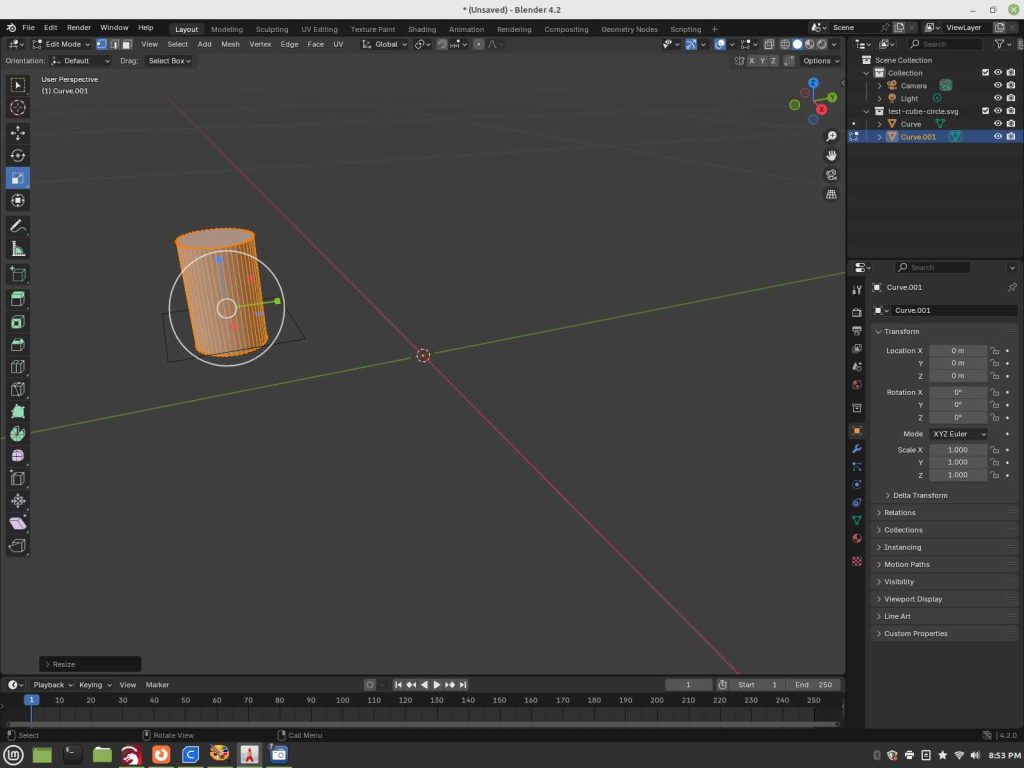
I found at this stage helpful to deselect everything, then using the A key, selecting again, before scaling the height to exceed the distance of the bottom of the piece it’s cutting out. Select the Scale button to increase it’s length dragging it to the length with the mouse as done before for it’s initial height/depth.
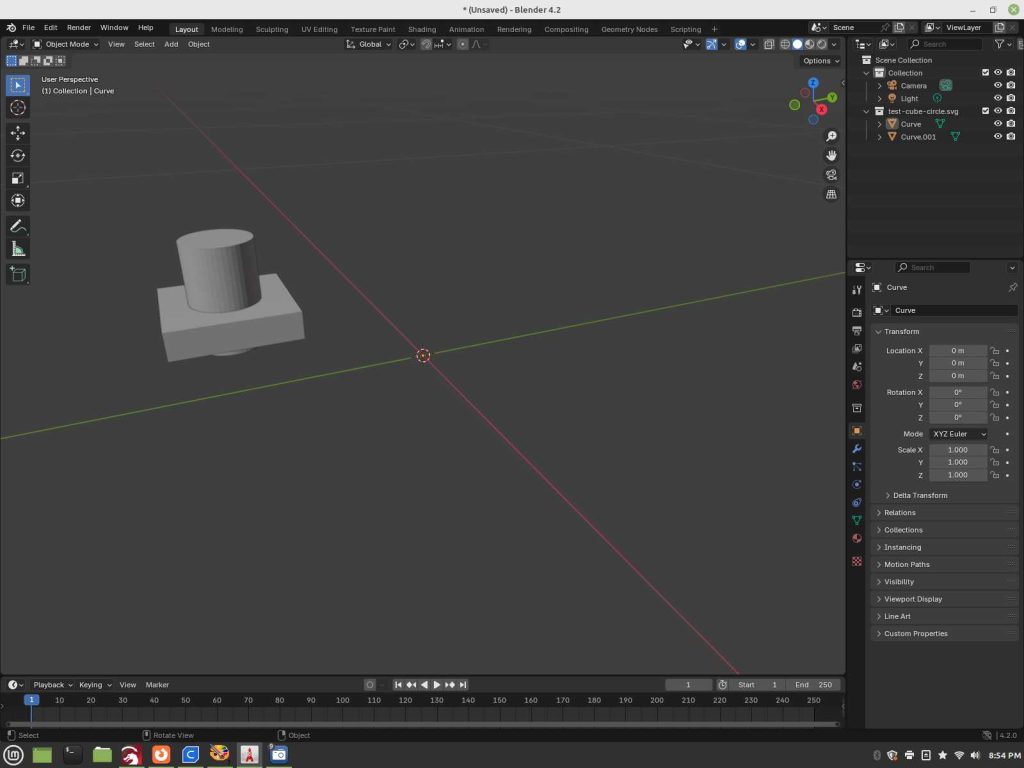
From here, go back into Object Mode.
Do the same thing with the cube object as you did with the cylinder, omitting the scale option after it’s extruded.
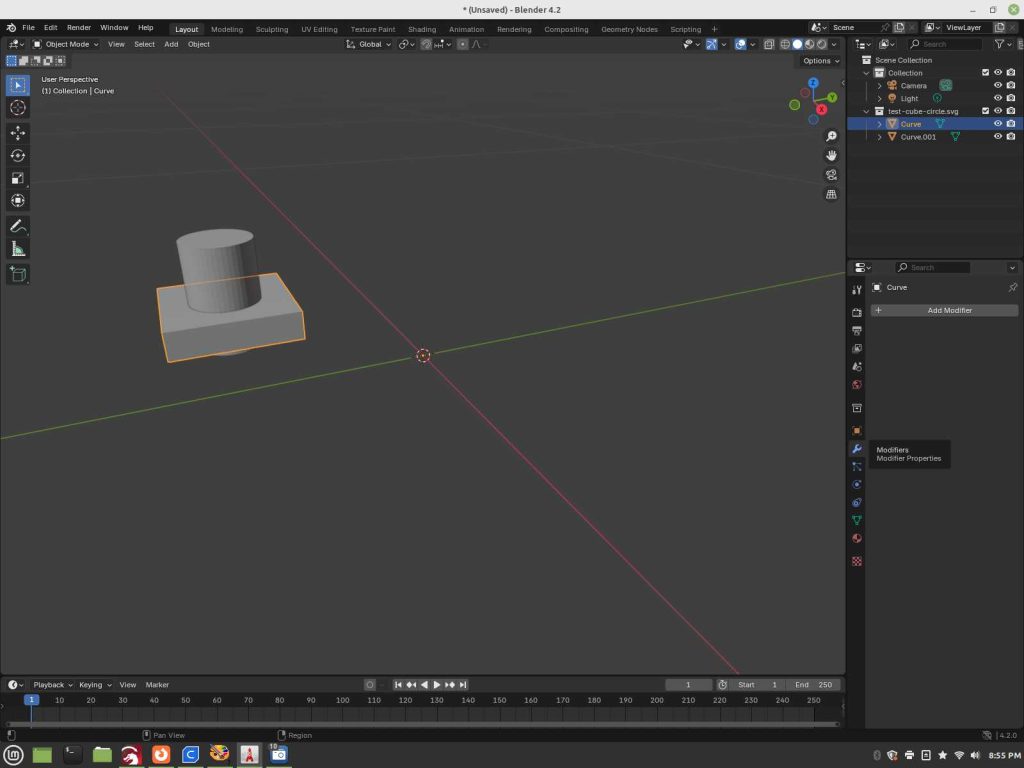
Select the cube object and click onto the Wrench button. You will see the Add Modifier button show up.
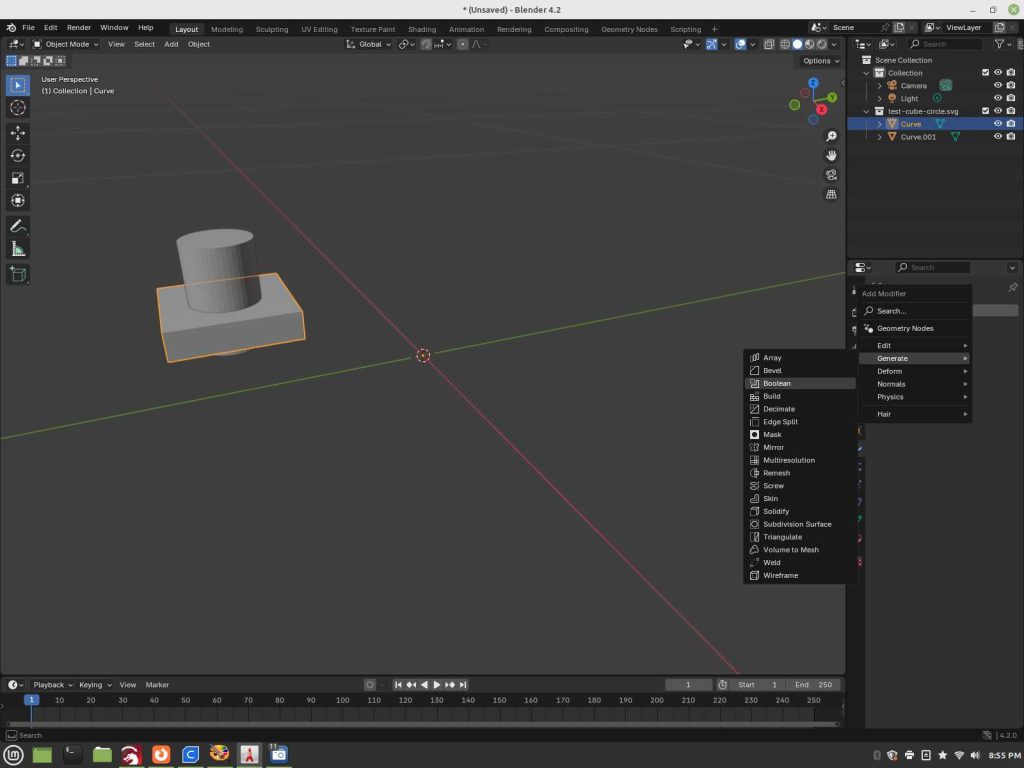
Selecting it will open up a menu, navigate to choose Boolean.
From here, it’s on default setting of Difference, click on the the square with brackets icon next to the word Object among the options, and it will bring up the cylinder to select, it renames it to Curve, ignore that element for the purpose of this tutorial, it will be the only option to choose from in this window.
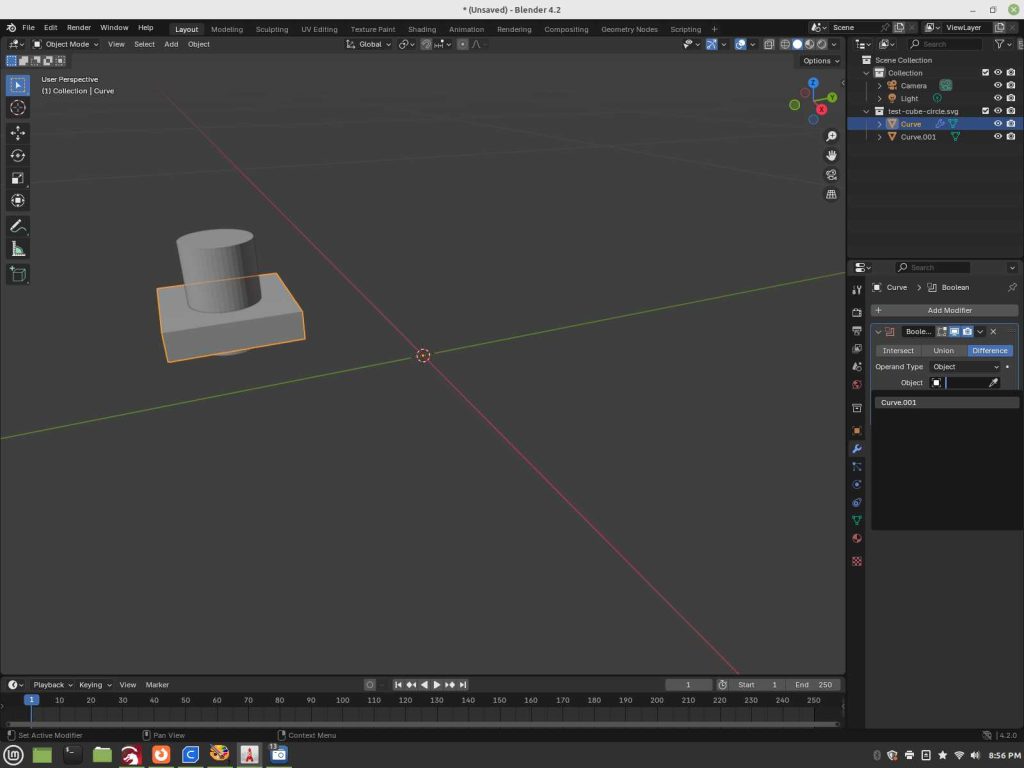
Once it’s selected, use the drop down arrow icon/button shown next to the Camera icon, just below the Add Modifier button then choose, Apply. It should now revert to only the Add Modifier button option. If it does not, go back into each object, selected in Edit Mode, select all as shown before, and press/hold down the shift key while pressing N, then proceed forward from there along prior steps shown.
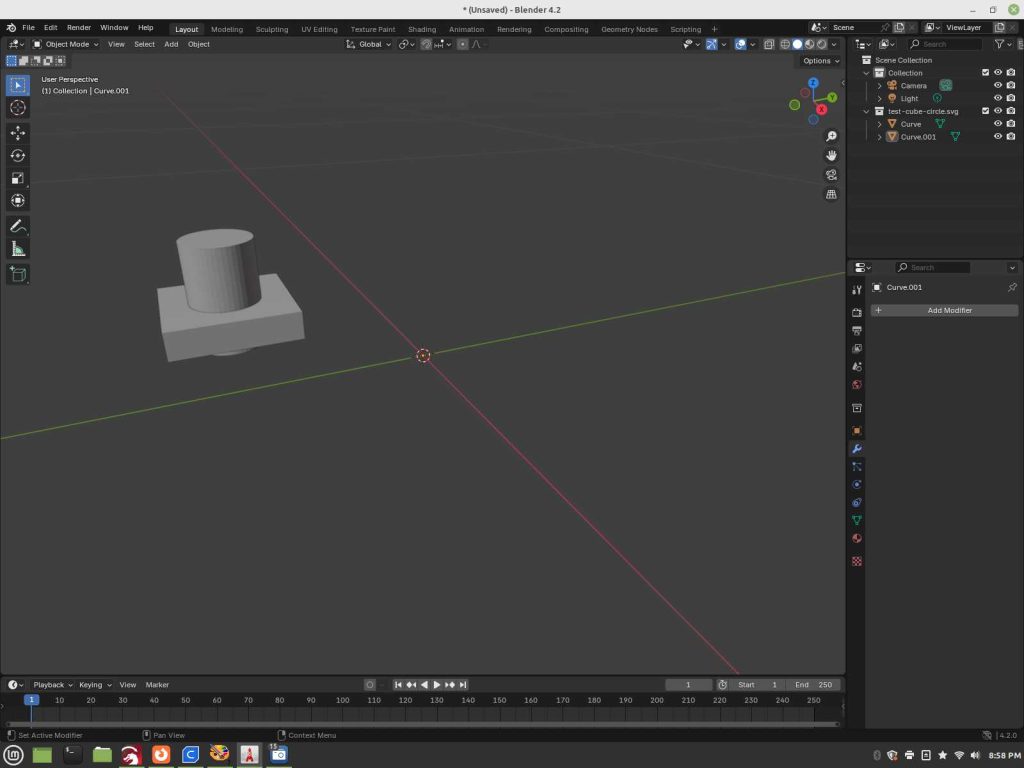
You can now select the cylinder and delete it using the drop down right mouse click menu.
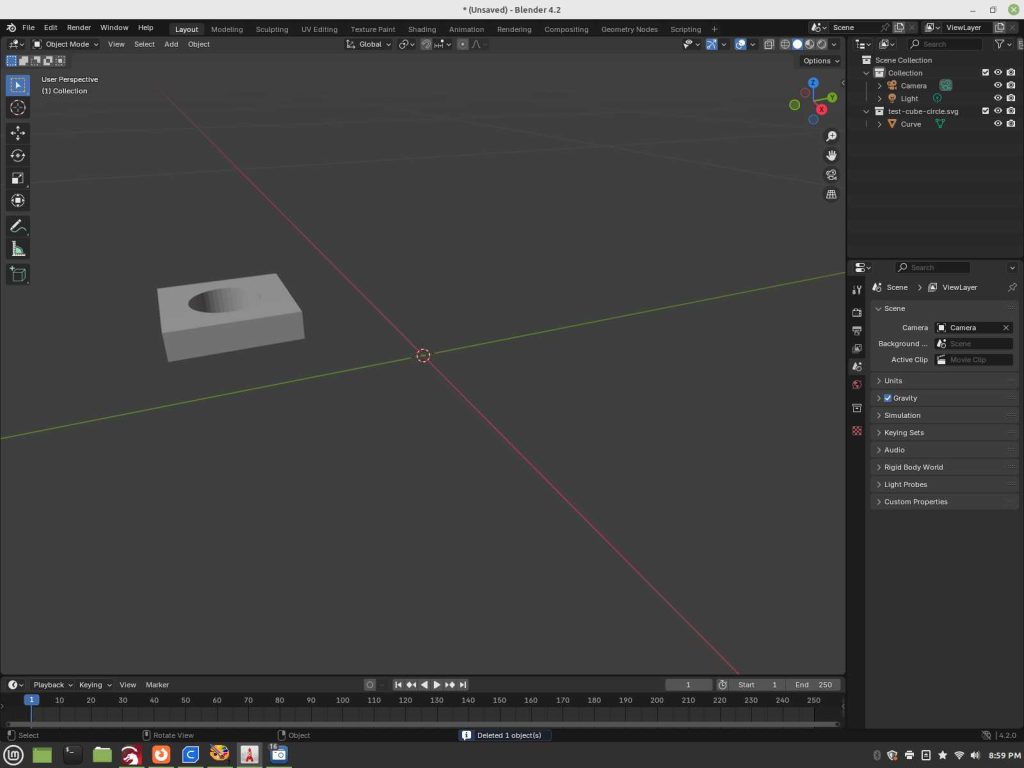
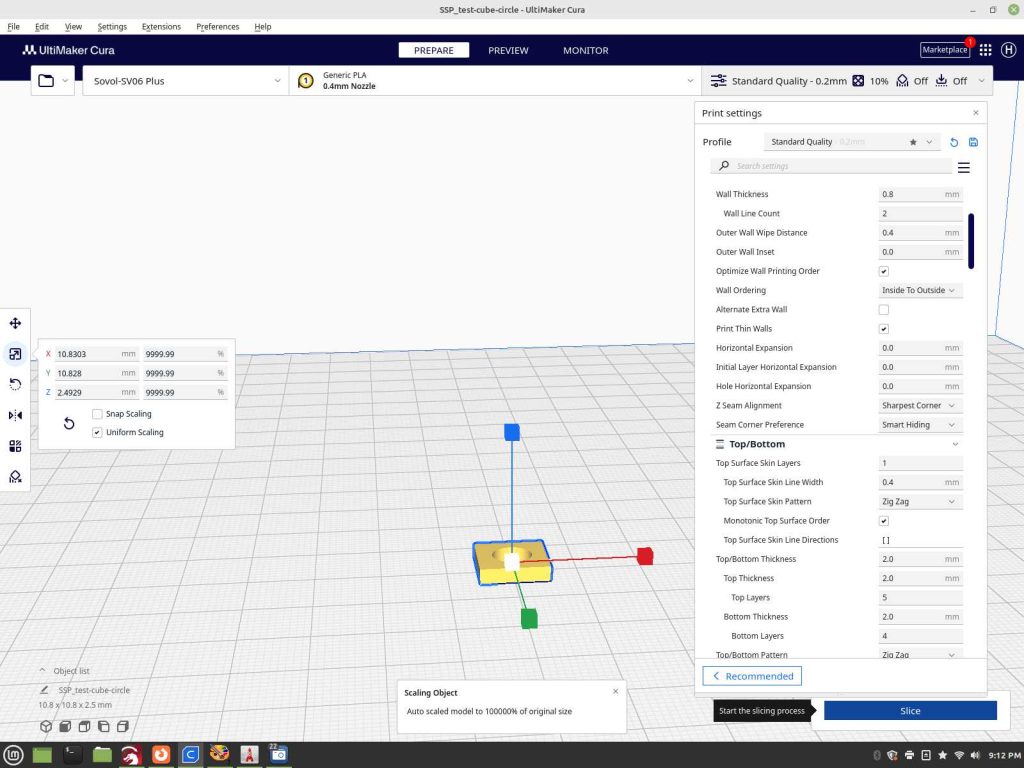
Using the File – Export option, export it as a stl file. Importing it into your slicer for 3d printing from there. In this example, I am using Ultimaker Cura, and also addressing some importing and scaling bugs that can happen and how I’m fixing them.
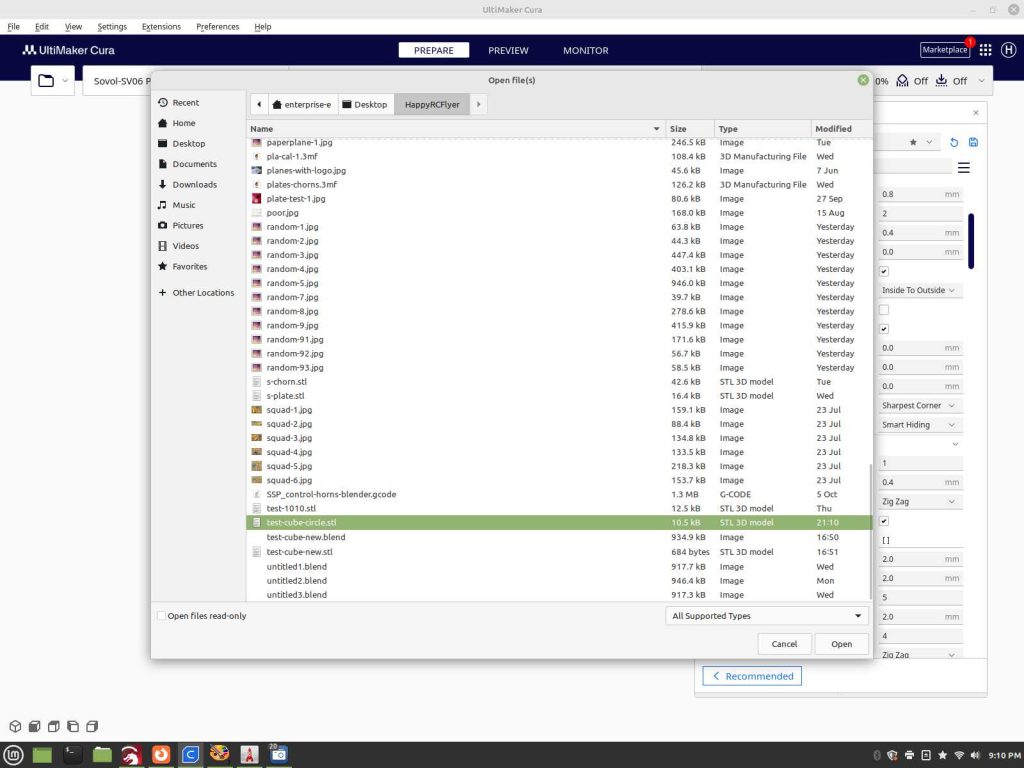
If it imports too large, and this is to go with any source along files with any brand of slicer, I have found simply moving the decimal point over a character/place fixes it in the Scale option/button in Ultimaker, you may need other systems for proper scale on other slicer software. There may be me being newer to this gambit, or just some bug in the system, it’s easily fixed regardless.
Click the Slice button to 3d print from here.
*When you are working with more complex 2d files to import into Blender, you have to close all ends of the lines and intersections so there are no gaps between any, all joined together as one piece. They need to be recognized as being joined in the original cad/Lightburn software as being one piece, not merely grouped. You can verify if they are truly, fully joined by when they are imported as an .svg file, and upon clicking it, the convert to mesh option is now available as an option, if it’s not, that option will not be available, in addition, simply clicking and edge of the object should show up as one piece, not a section of it, again, when freshly imported.
When working with more complex objects too, and again, imported 2d, you will want to reduce the “nodes”, and doing this by after it’s converted to Mesh, go into Edit mode, press the letter key “a” to select all nodes, then press the letter “x”, and from there, the menu will have “Limited Dissolve” as an option to select. Also, some times you may need to use the merge function, and again in edit mode all selected, press the letter “m” and and the menu will give you the option of “By Distance” to select.
Tutorial for creating the same type of object within Blender instead of importing from 2d. This gives direct functionality to create and use simple objects created within Blender and is a great start for the raw, showing people around the software to make some functionality out of it fresh from the start of using it.
https://happyrcflyer.com/creating-and-working-with-basic-objects-in-blender
Software used for this tutorial: https://www.blender.org https://ultimaker.com/software/ultimaker-cura https://lightburnsoftware.com